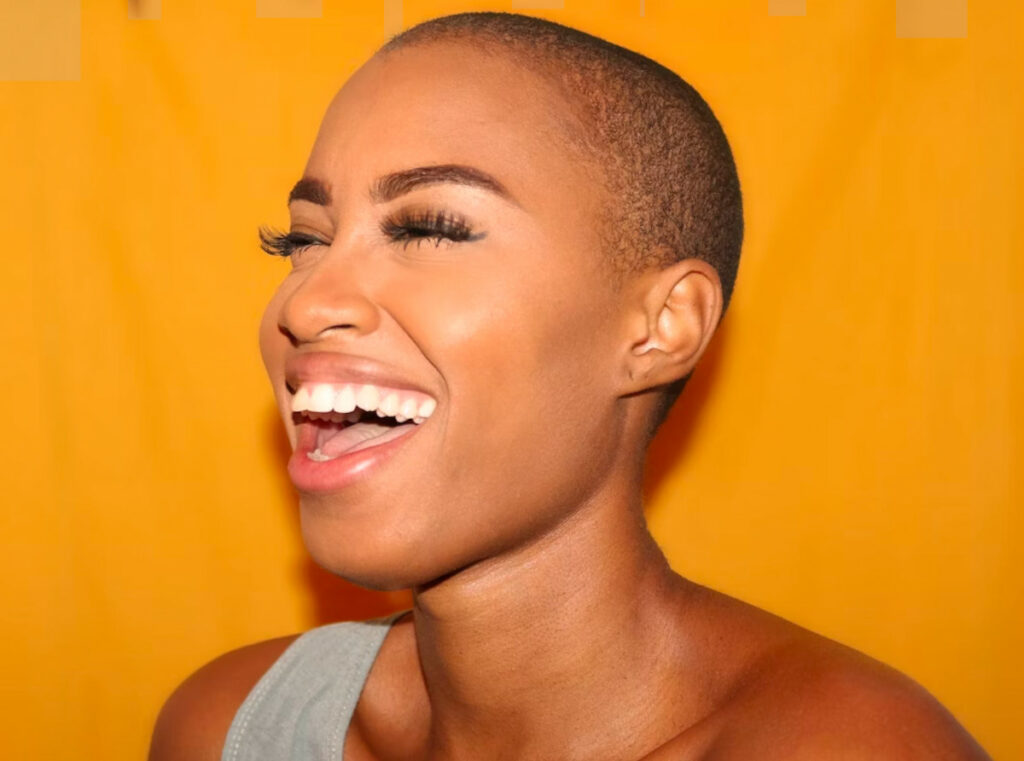
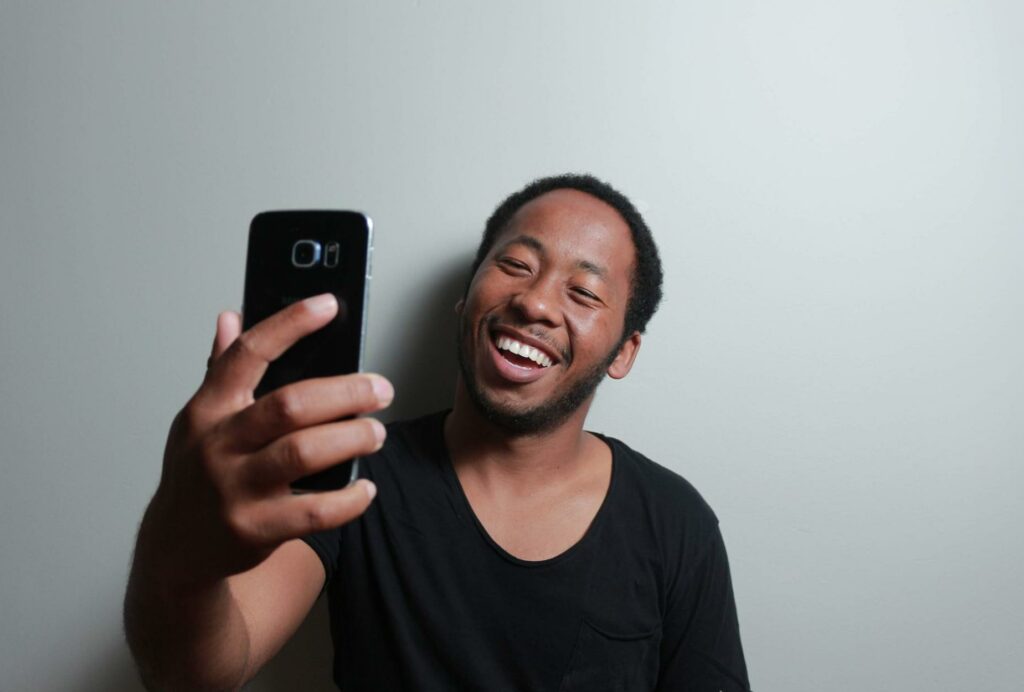
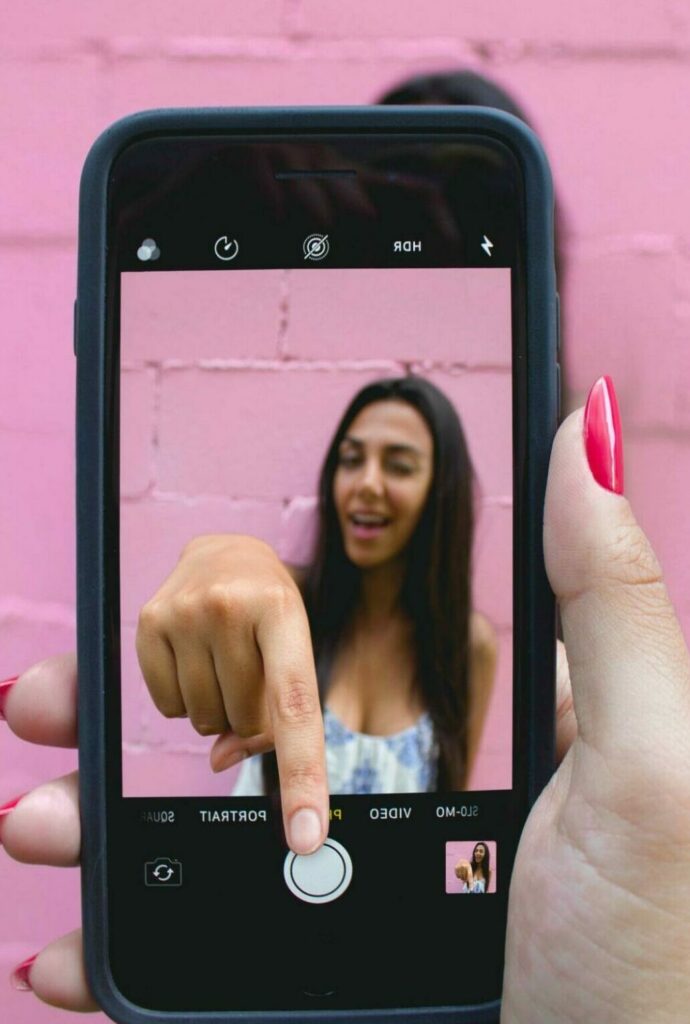
The way you’re photographing yourself, or others, drastically shapes the outcome of your photo.
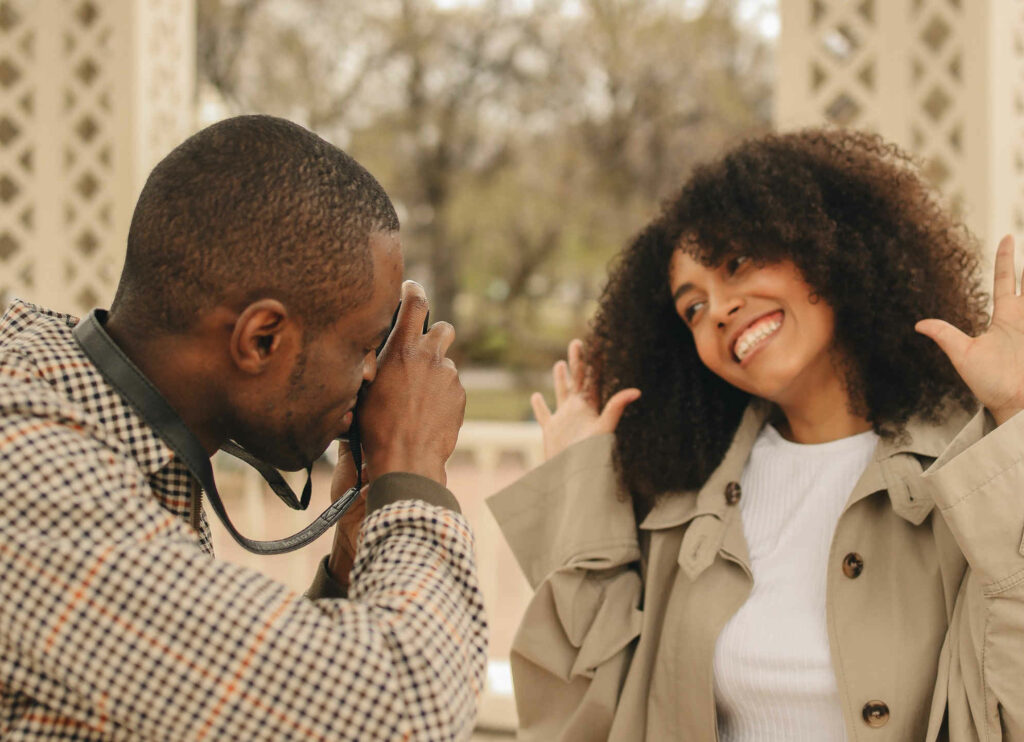
In reality, a great photograph is made with 50% effort from the model’s side (you!) and 50% from the photo taker’s side.
Today, you’ll learn Photofeeler’s best hacks for capturing an amazing selfie or professional photo. Prepare to harness your facial expressions like Tyra Banks and better understand how you can make your phone’s photo modes work in your favor.
The following course covers four key photography sections:
1. Channel Your Confidence
2. Master Your Facial Expressions
3. Understand Your Phone’s Photo Modes
4. Check for Selfie Must-Dos!
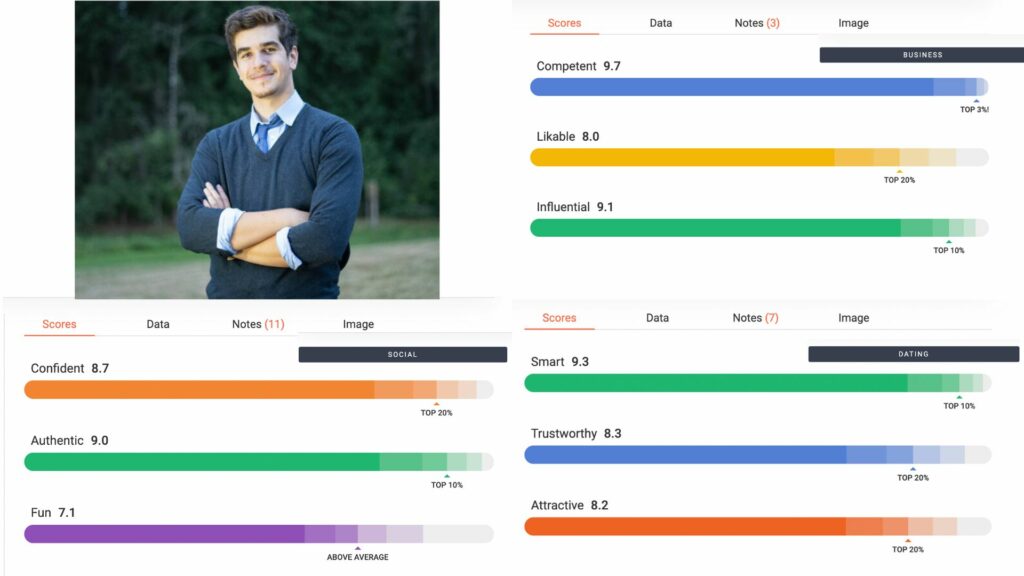
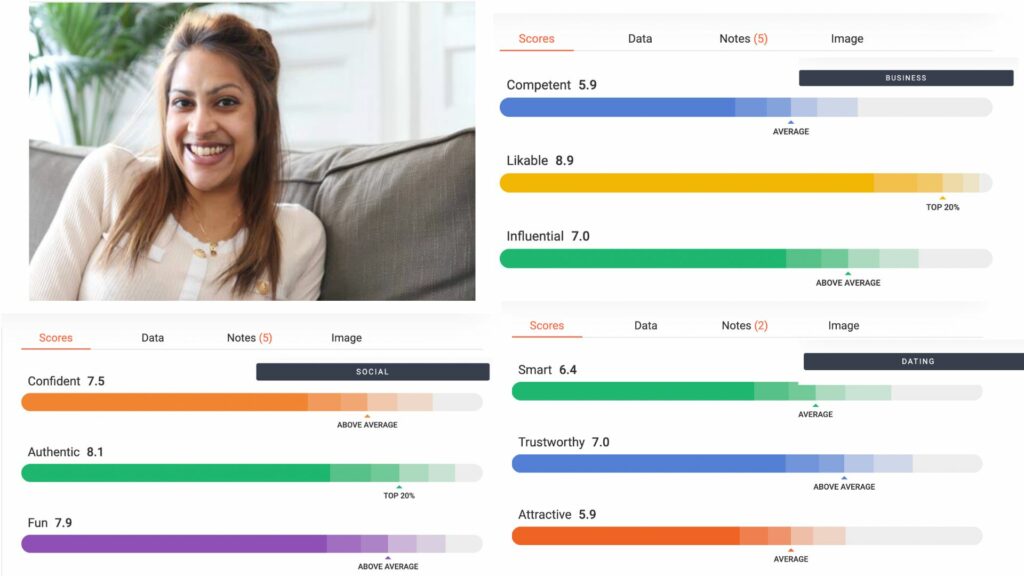
Take your time with each concept, like sipping fine wine. Try these hacks IRL as you progress and test your new pics on Photofeeler to see the vast improvements.
1. Channel Your Confidence
This is our simplest but also the most crucial hack because feeling comfortable in your skin shows through the camera.
There are many subtleties in your facial expressions that communicate confidence and power. We’ll let you in on all those minor changes in the Facial Expression section if you keep following along!
So, how do you present yourself? Both behind the lens and in real life– are you displaying your personality in your profile pics?
Here are three quick tips for owning it in front of the camera:
Pop on a playlist of your favorite hype tunes.
Lizzo? Beyonce? Kanye? Jam out and capture your true essence- full volume!
Practice makes perfect.
Check yourself in the mirror, find what works best for your face shape, and eliminate the unflattering stuff. Better yet– say out loud three features you absolutely adore about yourself. It might sound wild, but it works!
Showing your true self in photos takes practice, so don’t worry if you don’t score on the first try. Sometimes, the secret is in faking it until you make it.
You know who you are when the camera isn’t in your face. Channel that version of you when the shutters come on.
Find inspirational photos.
Picturing how you’d like the end photo to look is super helpful in prepping the perfect snapshot.
Pinterest is a great place for seeking creative posing ideas. Browsing through the user galleries can give you a sense of confidence with precise direction on where to improve your photo quality.
Linkedin, social media, and dating app profile photos are all framed differently. If you have a specific vibe in mind, ensure it’s conveying all the right feels with a photo test.
Master Your Facial Expressions
Smize (smile with your eyes, more on that in a bit) and fasten your buttons – we’re about to “face some technicalities.” Get it?
Remember the childhood classic, “Head, Shoulders, Knees, and Toes?”
We put a spin on this with “Eyes, Eyebrows, Mouth, and Neck,” the fabled four facial expressions that make a visual impact in your photos.
Eyes
Tyra invented the “smize,” the sultry facial expression of smiling with your eyes. Instead of wide-eyed stares, purse your lower eyelids slightly upwards to convey confidence. Or, try the squinch!
A smize + a smirk = Who are theeeeey?!?
Millions of photos worldwide can attribute their popularity to the timeless appeal of the eyes. The eyes provide a natural way of communicating an individual’s inner intensity with measured expressions. We call it being emotionally precise. The ancient philosophers weren’t kidding when they said that the eyes are the windows to the soul.
Eyebrows
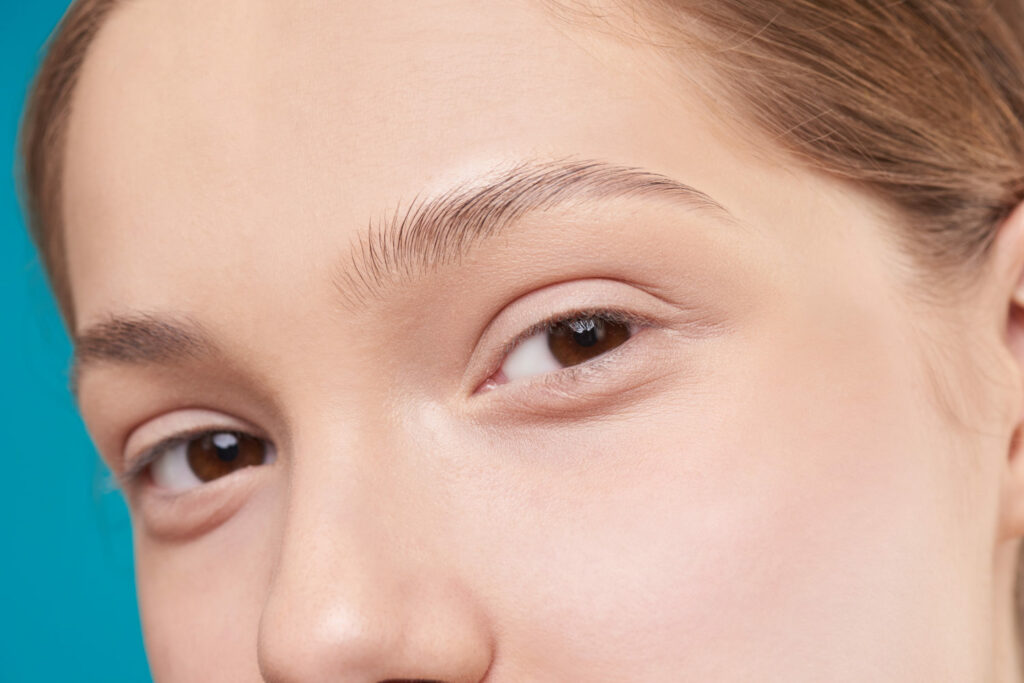
As piercing as your eyes may be, don’t forget to keep your eyebrows in check.
Maintain your eyebrows in a neutral position most of the time, with a few exceptions…
Adding mystery

A slight eyebrow raise conveys mystery, suspense, and intrigue. Is there something we don’t know? Tell us, oh bearer of secrets!
Being caught in a moment
If your photo is taken in the middle of a laugh or expression, you’ll probably find your eyebrows having a candid moment; that’s brilliant! It’s a great way to capture the essence of authenticity.
Mouth
When a photographer tells you to smile but takes 30 seconds to snap the shot, you’ll likely find the original vibrance of your smile fading into a dull droop. It’s what happens when you prolong an expression and it no longer matches what you feel.
Hence, we have the handy dandy photo countdown. Imagine living in 1816 when you had to smile for a photo for like 5 minutes. Our facial muscles hurt just thinking about it.
Our solution…
When getting a picture taken, either have the photographer capture multiple photos quickly (like a burst) or smile first before emoting through your eyes. This is the best way to avoid awkward mouth movements, such as the *dun dun da* duckface.
Neck

Now, we move away from the complexities of the face to the intricacies of the neckline.
Pull your shoulders back and let your arms fall naturally at your sides. Visualize a wooden 2×4 between the bend of your arms and your back; this is a straight spine and back position.
Next, you’re going to extend your neck outwards, kind of like a flamingo. Then, add a slight side-and-up tilt to your jawline here.
It will feel weird, but we promise it looks good on camera.
Why?
Because when you create a distance between your neck, shoulders, and jawline, everything appears more shaped, structured, and intentional. It doesn’t look lazy or slouchy; instead, you appear poised and self-assured.
Business professionals use this body positioning and facial expression technique to appear more reliable and intelligent in Linkedin shots.
3. Understand Your Phone’s Photo Modes
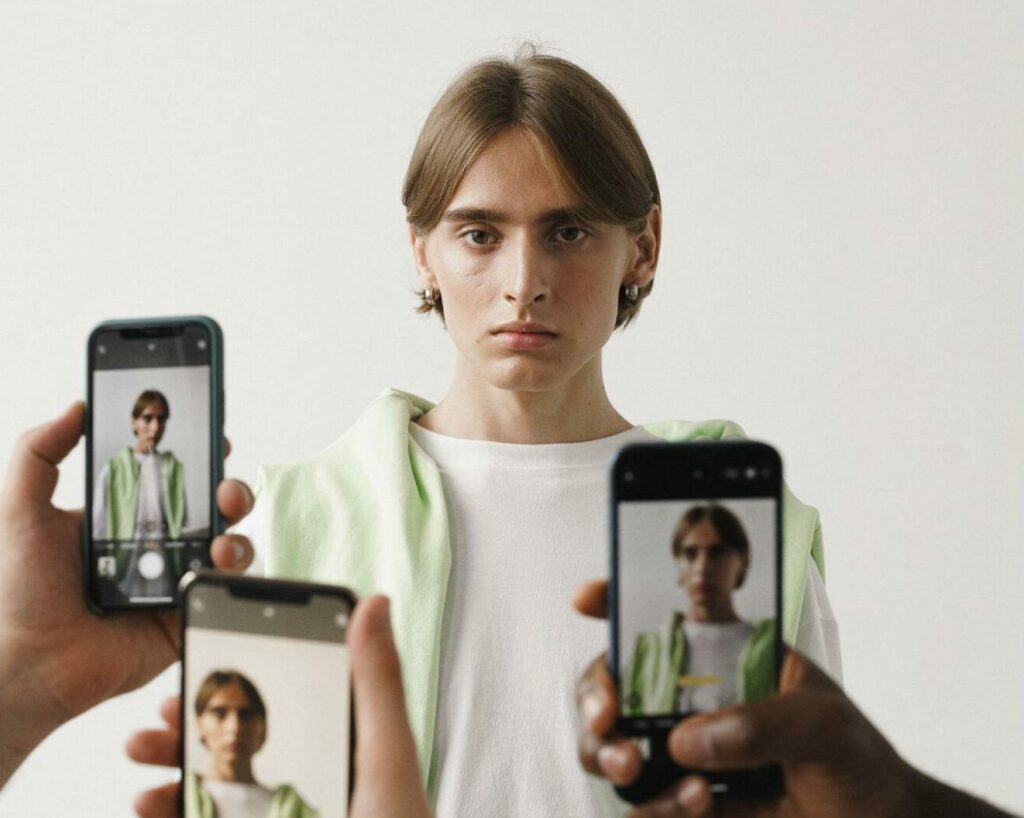
Your phone’s camera has a bunch of settings that can help enhance photo quality.
Before you get to snappin’, take a test snap (test snaps are everything). Check the lighting and make any necessary adjustments. You can always make a photo brighter, but you can’t make a brighter photo darker (well, you can, but not without losing quality).
Sharpness and a good brightness/contrast ratio are the most important settings that you can/should manually adjust pre-shoot.
Always tap on the subject via your phone camera screen to lock the focus and prevent underexposure (where you look like a literal shadow of yourself) when your phone’s camera focuses on the sky or a nearby object.
Here are ten of the top-vetted phone photo practices; click on your phone model to learn more:
Apple iPhone
Google Pixel
Samsung Galaxy
4. Check for Selfie Must-Dos!
Find your light.
Knowing where the light is casting shadows helps avoid the unattractive under-eye darkness, bright nose highlights, and awkward chin lighting.
Golden hour is the best time for shots in direct sunlight because it’s when you glow, baby, glow!
Posture makes perfect.
Your stance, even in a selfie, communicates so much about you. Leaning into the camera makes the shot more personable. Leaning away adds angles and creates some edge. Either way– shoulders back always. And keep your chin in the direction you want to go in life– up!
Understand selfie distortion.
Selfies make our noses look 30% bigger than IRL. Can you smell the issue here? A solution to this selfie distortion is to snap the photo further away and use the zoom camera (2x is ideal).
Use the back camera.
Yes, it’s much more difficult. But tripods have your back, and you’ll have the best image quality.
Click, Click, Boom!
Snap a before-and-after-reading-this-article pic by applying the tips you’ve learned. As simple as some of these photo tricks may seem, it’s the small things that catch the eye.
Bring your natural energy, smize and smolder, adjust your phone’s camera settings, and toss on an outfit that brings out those pearly whites and complements your eyes– watch the magic unfold, and your Photofeeler scores rise.
Ready for Lesson 2? This next lesson is all about knowing your angles and using this knowledge to your advantage to get your new favorite photos of yourself. Get started reading by clicking the image below!
