


Pixel users, these tips are for you!
From lighting to camera hacks– there’s a bit of everything here. Some info you may already know (oooh, look at you!), and others might be totally new concepts– either way, you got it!
At the end of this article, you’ll be able to fully utilize your Pixel photo modes, capture all your best angles, and have a few photo tricks up your sleeve for social media snaps.
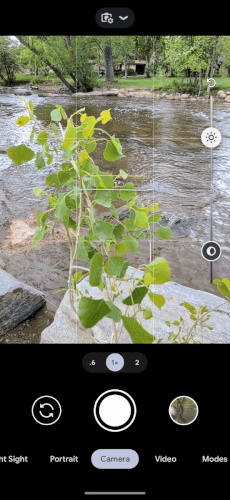
1. Lock the focus.
On some Google Pixel 4 and 5 models, the AF/AE lock feature disappeared with the recent camera update. To fix this, go to the Google Play store and uninstall Google Camera, setting it back to the version pre-update. Tap the area you want to focus on, adjust the sliders for brightness, and lock the focus by tapping the lock icon on the side of the screen. Now you can move freely to take photos, and the focus will stay locked.
![]()
The focus allows the subject to have its own separate lighting composition. Otherwise, the whole image blends together, and there’s no real emphasis on the main part of the photo as there should be. This is vital when capturing portraits in front of sunsets or brightly-lit backgrounds.
Most of the time, the focal point should be set on the subject in daytime lighting conditions. However, in sunset/sunrise photos and low-light images, tap on the background to set the focal point instead. The subject will be dark, but the background will be true to color. Take the photo. After, adjust the shadows in your phone’s photo editing settings to lighten up the subject; meanwhile, your background holds its natural colors.
2. Manually adjust the exposure.
Exposure = brightness.
Similarly to locking the focus, tap the screen on the part of the image you want to focus on, then adjust the sun slider until your image looks as bright/dim as you’d like. Then, lock it in place.
Nine times out of ten, it’s better to adjust the brightness down rather than up to keep clarity and sharpness. Adjusting the image too bright can cause quality fallout, as the photo loses detail and becomes “noisy.”
3. Shoot on the back camera.
![]()
There’s no denying that the Pixel’s rear camera has finer image quality and photo specs.
Google Pixel’s front and back cameras are vastly different. Take the Google Pixel 6, for example. The front/selfie camera is 8MPS with an aperture of f/2.0. The back camera is a whopping 50MPS, and f/1.8. Newer models are improving, but the front cam doesn’t even come close to the fantastic image quality produced by the back cam.
When taking photos with the rear camera, use a tripod for stability and a self-timer.
4. Turn on “Top Shot.”
![]()
To capture natural expressions without awkwardness, turn on Top Shot (available on Google Pixel 6 or later).
This setting is like taking a 6-second video, but better because it upholds the image quality of a photo instead of a blurry screen capture from a video still. Pixel’s “Top Shot” feature is identical to iPhone’s “Live Photo;” however, the images are not easily shareable between phone models.
After capturing your pic, grab the moment that captures you best by clicking the “edit” button at the bottom of the screen, choosing your favorite snap, and set it as the main photo.
Whala! A cheeky capture of a natural smile without any awkward countdowns or needing to hold a smile!
5. Fix a blurry photo with “Unblur.”
![]()
On the Google Pixel 7, sharpen blurry images with the “unblur” tool. Remember that the photos, when unblurred, will look very sharp, sometimes too much. If you want to salvage your in-action pic, unblur to the point of clarity and adjust the contrast and brightness to get the desired effect.
6. Use the camera grid.
Camera > Upper Left Icon > “More Settings” > Grid Type
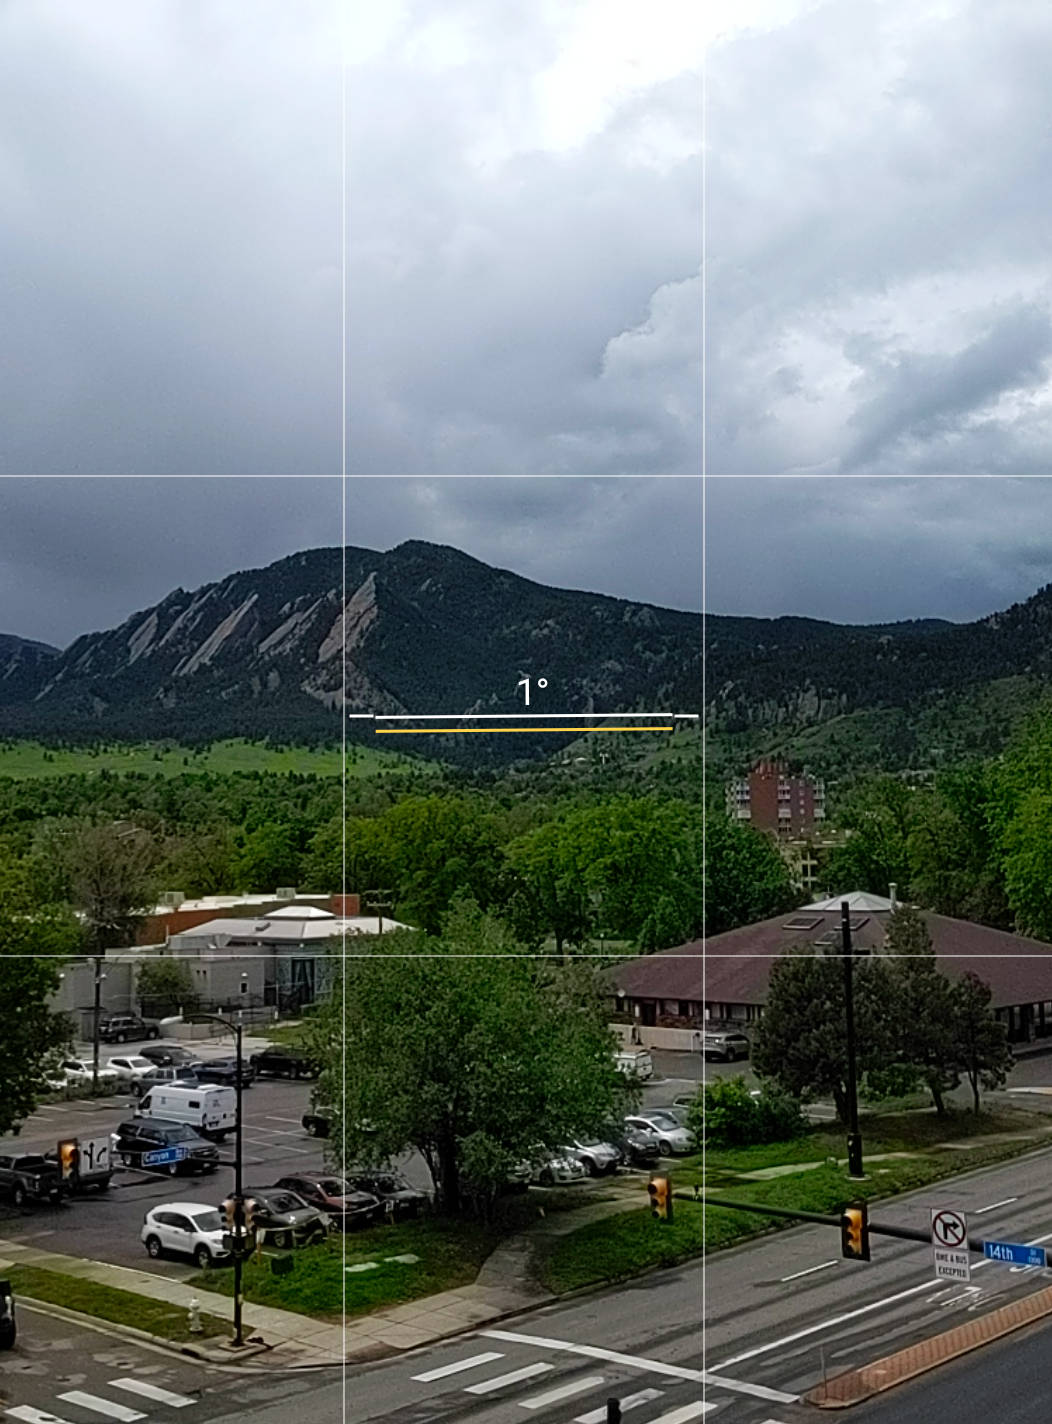
To position photos like a pro, turn on the camera grid setting.
From the Google Pixel’s camera app menu, click on the upper left icon, scroll down to “more settings,” and then to “composition,” from here, you’ll see the choice to enable a grid and choose the type.
All this does is add a 3×3 or 4×4 grid to your back/front camera, allowing you to better give directions to those shooting photos of you and create aesthetically-composed images.
A popular photo composition is the “rule of thirds.” Tell your friends to position you in the middle box of the grid for a full spectrum effect.
7. Capture full scenes with panorama.

When in Rome (or a cave, like the above pic), scenery is everything. To pose against stunning backdrops like a pro, panorama mode is your friend.
Wide-angle mode is lovely but is prone to body distortion and captures less of the scene than you may like.
If you want a cool, edgy photo in front of a tall backdrop, turn your phone horizontally, position yourself in the middle third of the grid, and hold the pose as the photo-taker slowly moves up to the top of the scene. Don’t move!
8. Mess with Portrait Mode’s lighting settings.
![]()
Google Pixel’s Portrait mode isn’t as technical as others; most adjustments are made post-photo.
After you take the shot, edit the image to adjust the background blur. An average blur is around 25%, depending on the background. You can get away with more blur if you’re shooting at night, as it adds a unique moodiness to the image.
When you go to edit, use Lightroom Mobile. There are hundreds of filters and minor image adjustments at your fingertips.
9. Change photo format to RAW.
Camera > “More Settings” > “…Advanced” > RAW / JPEG control
![]()
Most photographers shoot photos in RAW, a highly-defined image quality, allowing ample opportunities for post-editing.
Google Pixels have the same photo image quality options.
Turn on this setting when you take professional photos or want to mess around with post-production. But turn it off for day-to-day captures since the images are approximately 25MB each click, taking up way more storage than your usual snap.
10. Get creative with “Top Shot” settings.
After shooting a motion photo:
- Go to the image in your photo gallery
- Click the three dots in the top right
- Tap “export”
- Export as a GIF
Some dating apps allow short videos as profile photos, another creative way to show your personality in motion. You can also save this motion photo as a video, long exposure shot, or standard photo, so you’ve got tons of options!
Long exposure will slow everything dow-w-w-n, creating tracks of lights (cars at night) or smooth water patterns (flowing water).
Use long exposure with a tripod (a must!) for interesting night portraits. Since the camera is letting more light in with a slower shutter speed, the image, even at night, will be better lit.
BONUS: Use Voice Command
It’s super awkward setting a timer and running to pose; it doesn’t seem natural, and you work up a sweat in 10 shots. Our little photo hack? Google Assistant!
Tell your phone, “Hey Google, take a photo in #seconds,” and boom! Just keep count of the countdown, so you’re not in the middle of posing.
We haven’t tested how many times we can boss around our Google Assistant to snap photos for us, but we have found a good leeway time between the command and the click is 15 seconds.
Have you tried any of these tips before? Any new tricks you want to try to upgrade your photo game?
Let us see your best-improved snaps up on Photofeeler!