 Chloe Gray, Dating Coach
Photos are, without a doubt, the most important part of any dating profile… and the most dreaded.
As a dating coach, I’m asked on a daily basis for the most efficient and least painful ways to get them taken. Most of my clients don’t feel comfortable asking a friend for help or paying hundreds of dollars for a professional; in which case, a tripod is the best option.
Here are some tips and tricks I’ve learned along the way to make the best use of a tripod when taking photos for your dating apps!
Setting Up Your Tripod
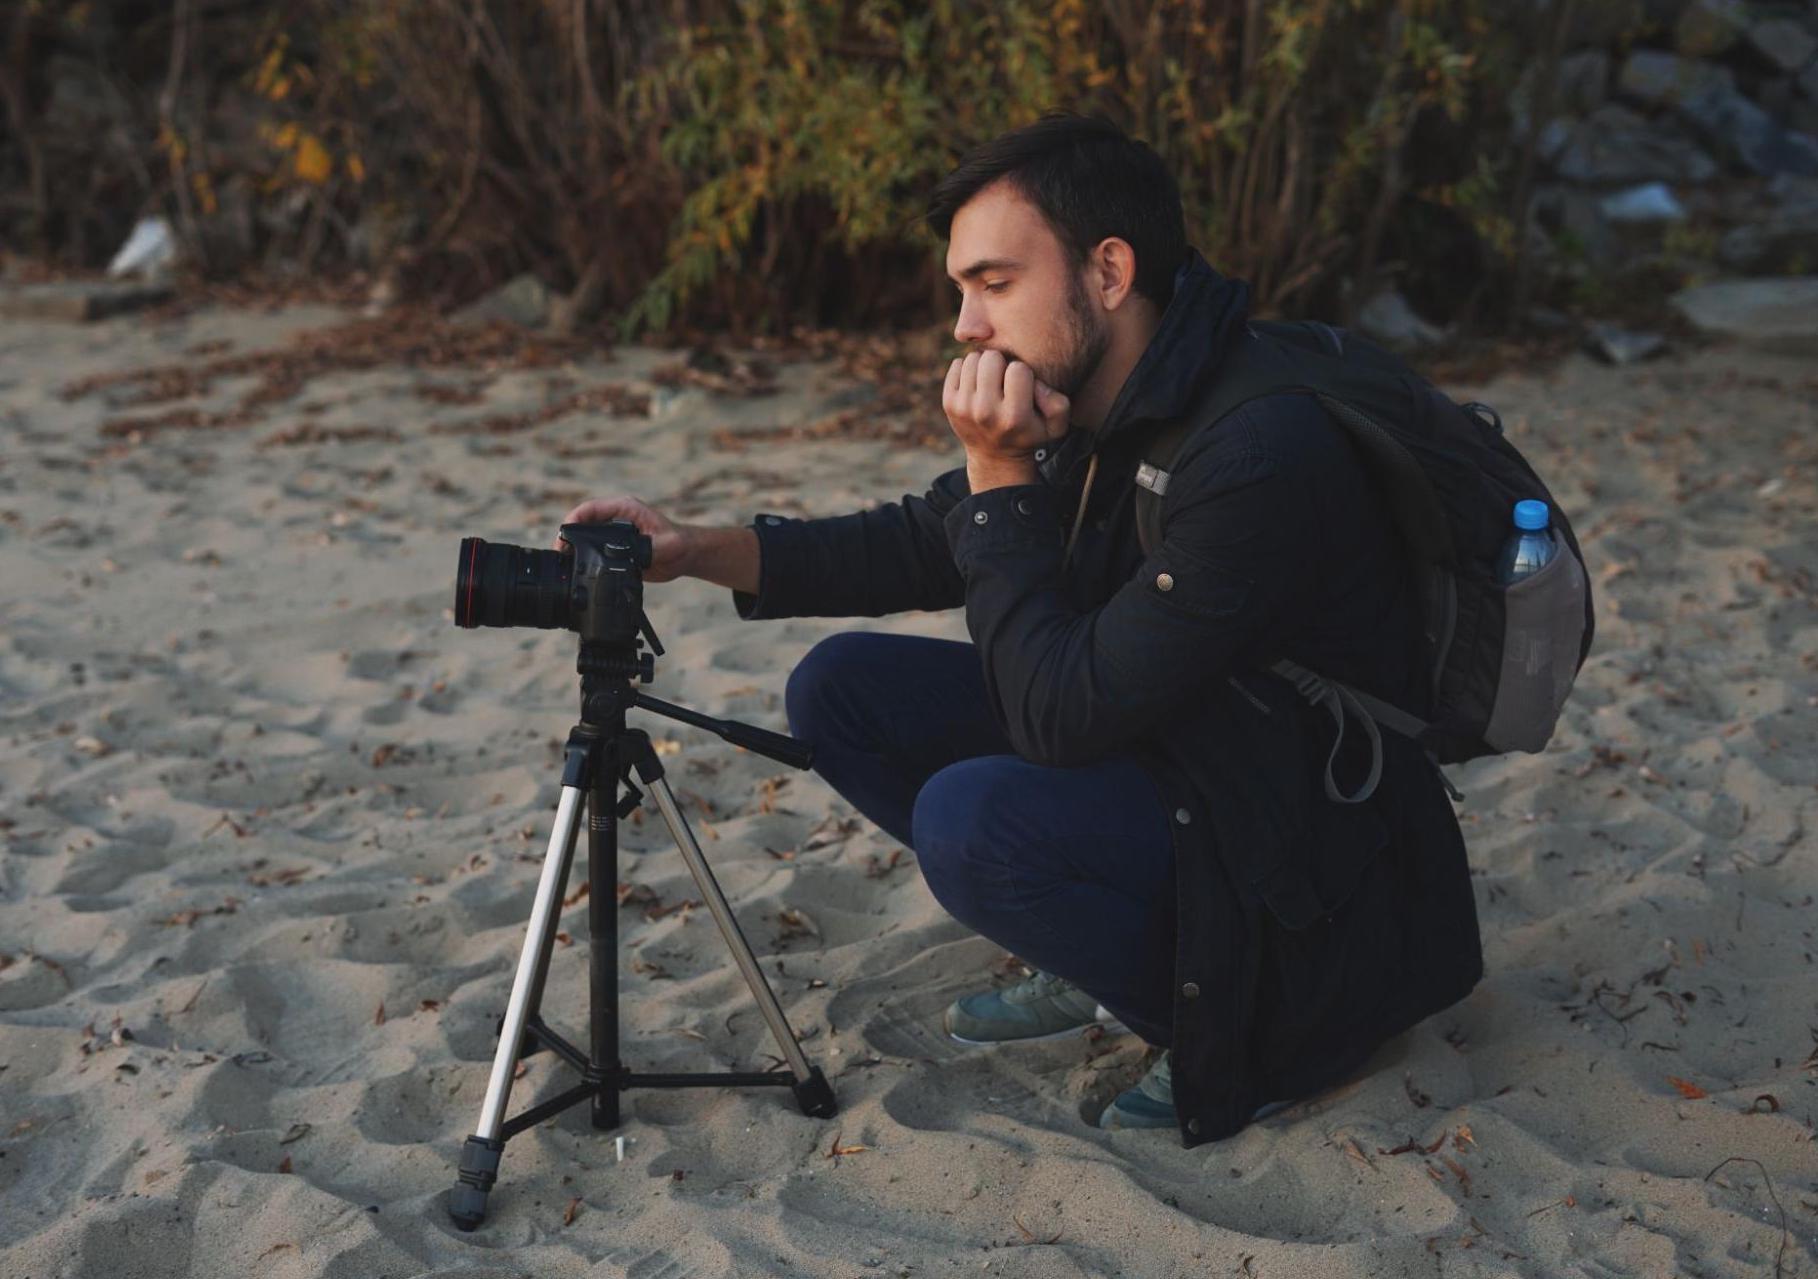
First and most importantly, read the instructions and maybe even watch a YouTube video on how to use all of the functions of the tripod that you purchased.
Yes, I know you probably don’t need to read them, you’re the handiest MF out there, but go ahead and do it anyway so the whole class is on the same page.
Here are a few guidelines that can make the process a bit less tedious once you have a basic understanding of how to use your tripod:
- When extending the legs of your tripod, pull from the top first. The top part of the legs of most tripods are thicker than the bottom and will provide more stability.
- When you’re on level ground, two legs of the tripod should be facing you. This provides additional stability against wind and the gap between the two legs will make it easier for you to access the phone/camera without tripping over it.
- When the ground isn’t level, point the two legs downhill. You can also place a heavy object in the back for support, anchor the one leg in front, or dig shallowly into the ground to stabilize the frame. If you want something to brag about on your resume, you can even do all three.
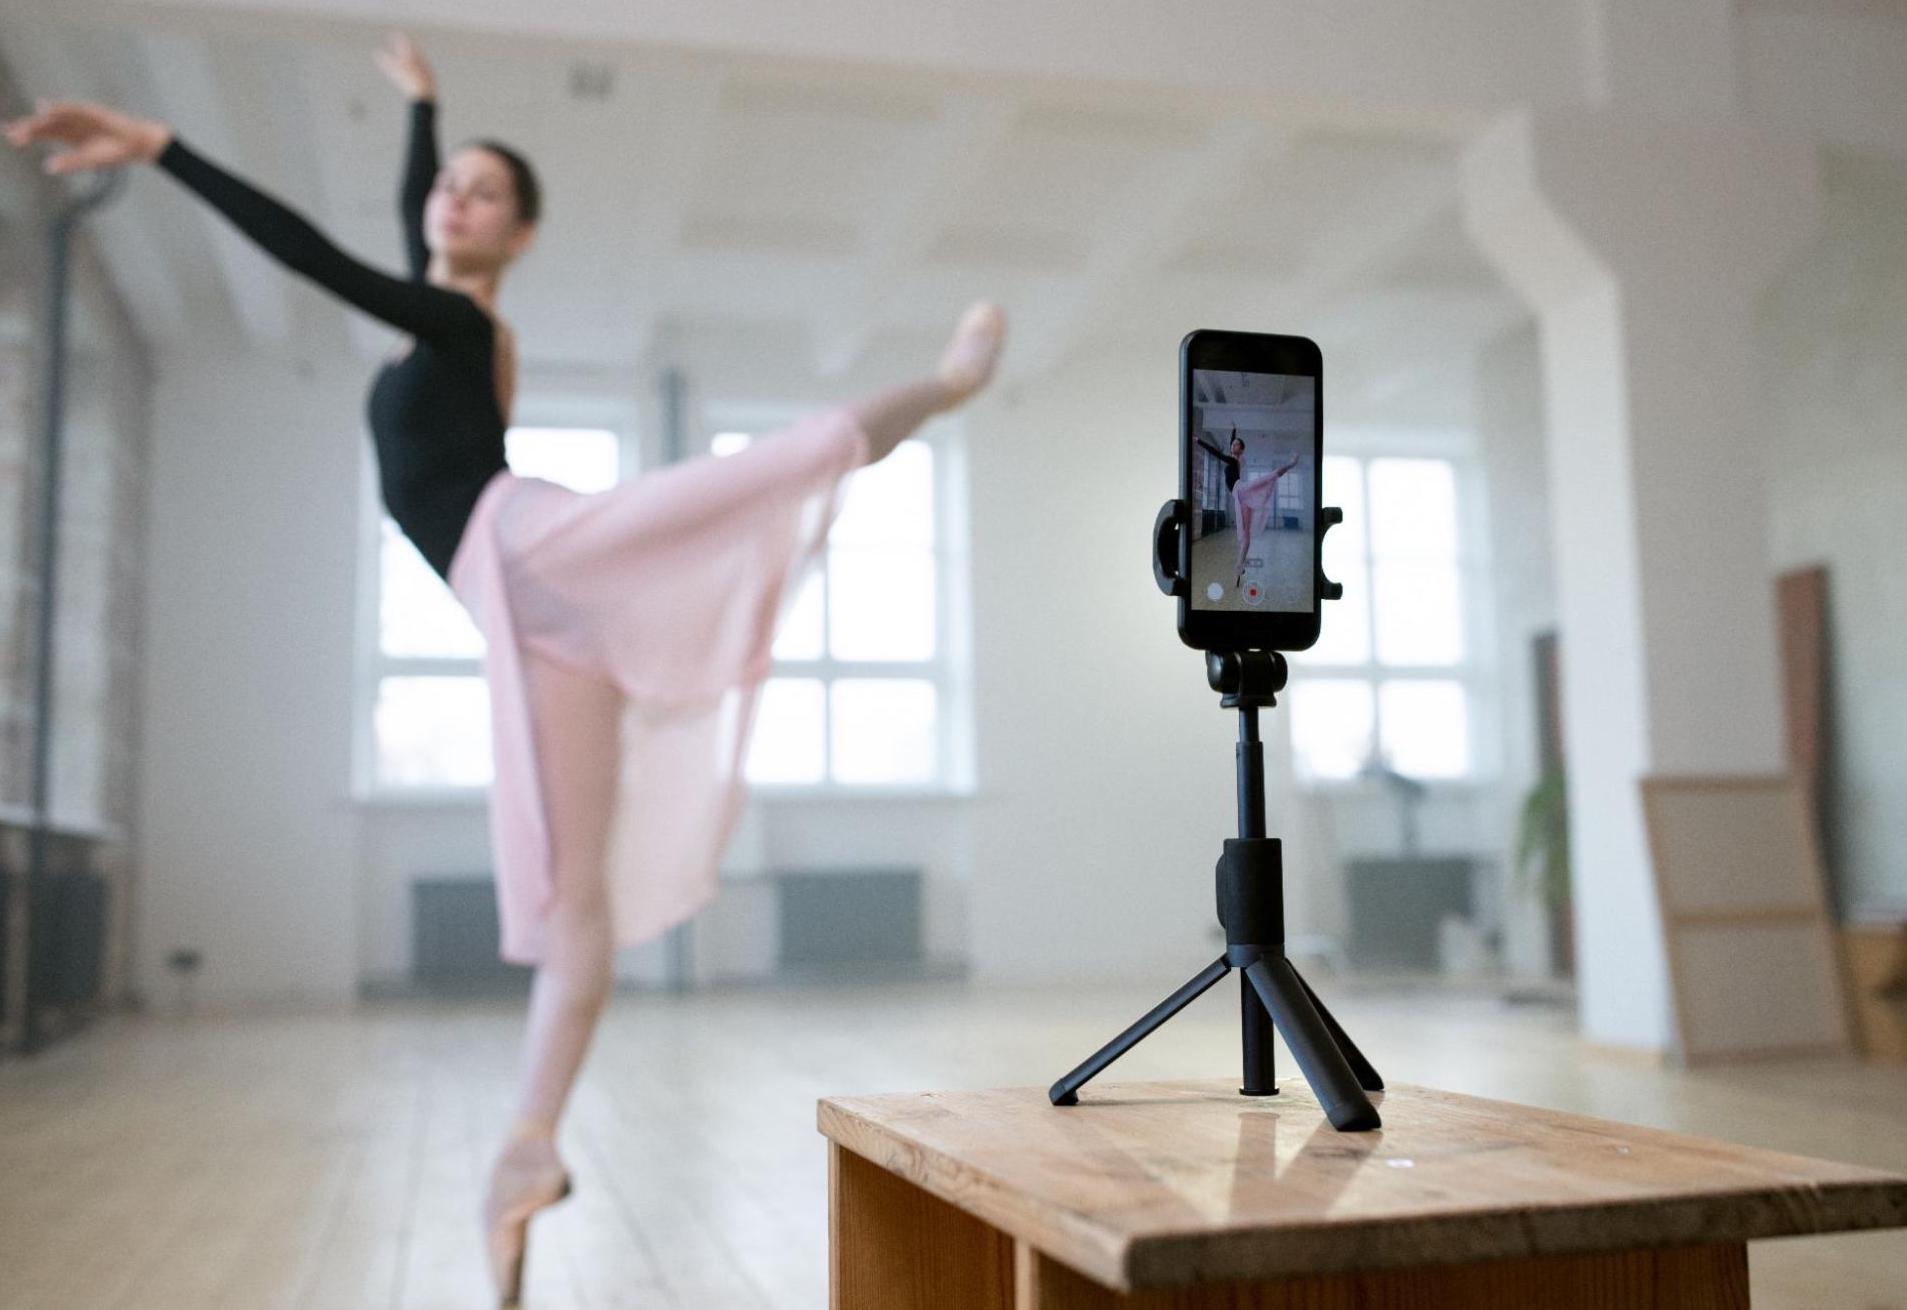
- Use a timer, remote, voice command, or a smartwatch to take the photos without needing to touch your phone. You can also turn on video and then go back later for screen grabs.
Framing
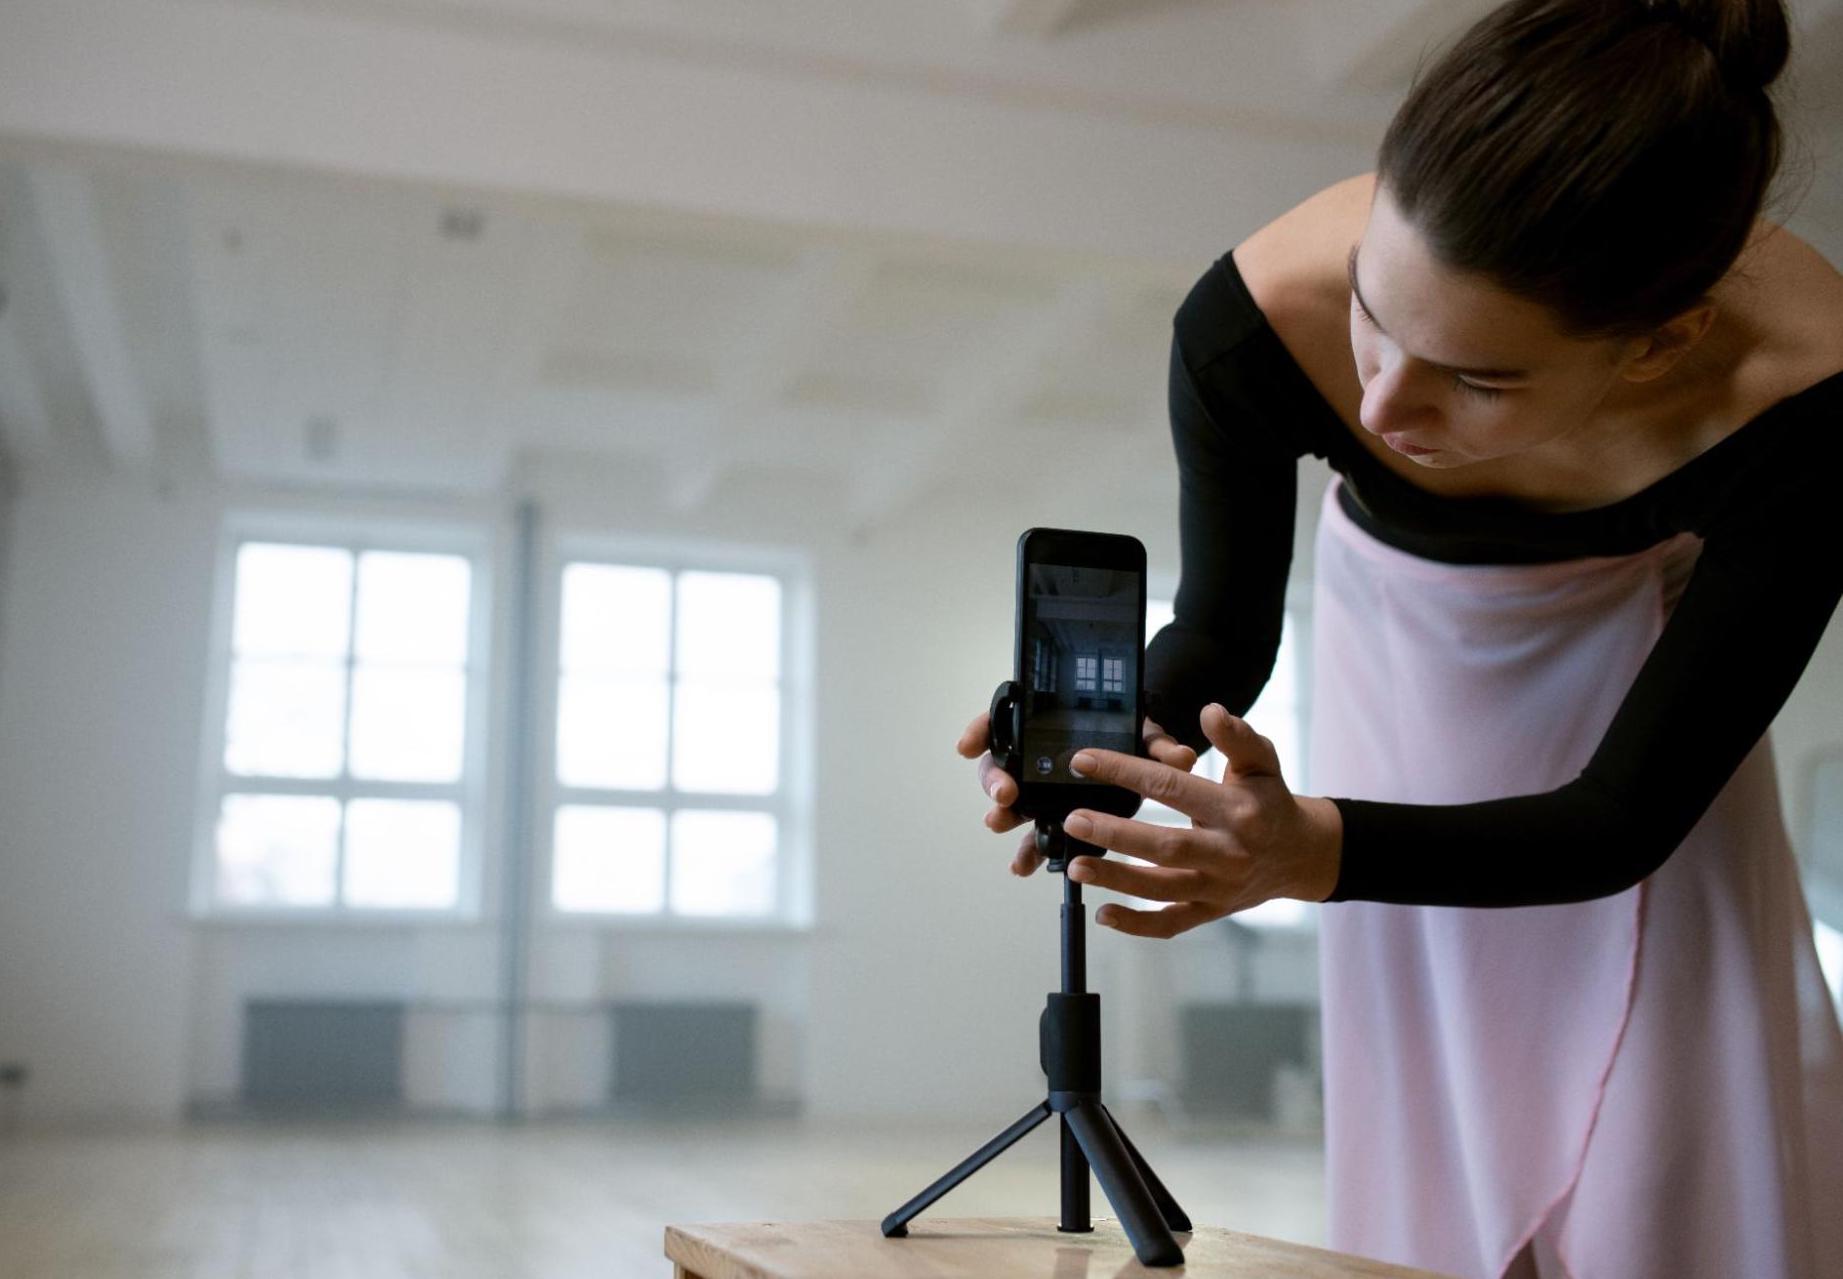
Simply put, the frame of a photo is the section your camera can see.
Proper framing is incredibly important and can transform your backyard into a garden or a junkyard into… well, let’s not snap photos of a junkyard for your dating profile.
When you’re planning out your photo, decide where you want to stand and then use an item as a placeholder to help make sure that everything shows up in the frame as expected. Once you have the desired frame in place, take a few photos of yourself to test the angles, and then check the camera. Adjust as needed until it’s just right.
Framing isn’t just important to showcase the environment – it can also dramatically alter your appearance in your photos. It’s important to consider the best angles for your body type.
This blog would turn into a novel if we delved into the best angles for the full range of body types, fitness levels, and heights, but we’ll stick to the SparkNotes.
Posing
Photos for dating apps have two primary objectives:
- Provide clarity so they know exactly what to expect as you’re walking up to them on a first date.
- Establish attraction because, you know, attraction for your romantic partner is kinda important.
If your photos aren’t accomplishing both objectives, they don’t belong on your profile. Any other goals, such as showing off a lifestyle, a beautiful environment, or interesting angles, are secondary and are only helpful if there is no sacrifice to your primary objectives.
With these rules in mind, here’s generally how you should approach your photos:
If you’re overweight, for upper body shots, shoot from above eye level and lean slightly forward to reduce the appearance of double chins. Resist the urge to push back your shoulders, as the act of pushing your shoulders back will also push your belly forward making it appear larger than it really is.
For full-body shots, place the camera as high as you can without requiring it to have a downward tilt. Any downward tilt in a full-body shot will make you look a few inches shorter.
If you’re a male and fit, frame your body in a way that clearly shows both of your arms (post-workout) and ensure that the widest part of your arm is facing the camera in order to highlight your triceps. Stand up straight in a shirt whose fabric touches your skin in order to highlight the fitness of your tummy.

Look Natural! Don’t just stare blankly into the camera with no expression – because that’s what serial killers do. Instead, smile, laugh, or look away with a happy expression on your face. Bend your arms and legs a little, avoid standing to the side (you’ll look a lot more narrow), and move around a bit to prevent all your photos from looking identical. Trying different angles and points of view will keep them from having to play “spot the difference” while swiping through your photos.
Conclusion
Learning to use a tripod doesn’t have to be a horrible experience – that’s what the DMV is for. Plus, you’ll have to really mess it up to end up with something more embarrassing than what’s on your license. Take your time, have some fun with it, and the results will be well worth the effort! If you get stuck or have questions, I’m always happy to help.
Cheers,
Chloe