
By the end of this section, you’ll have a degree in degrees.
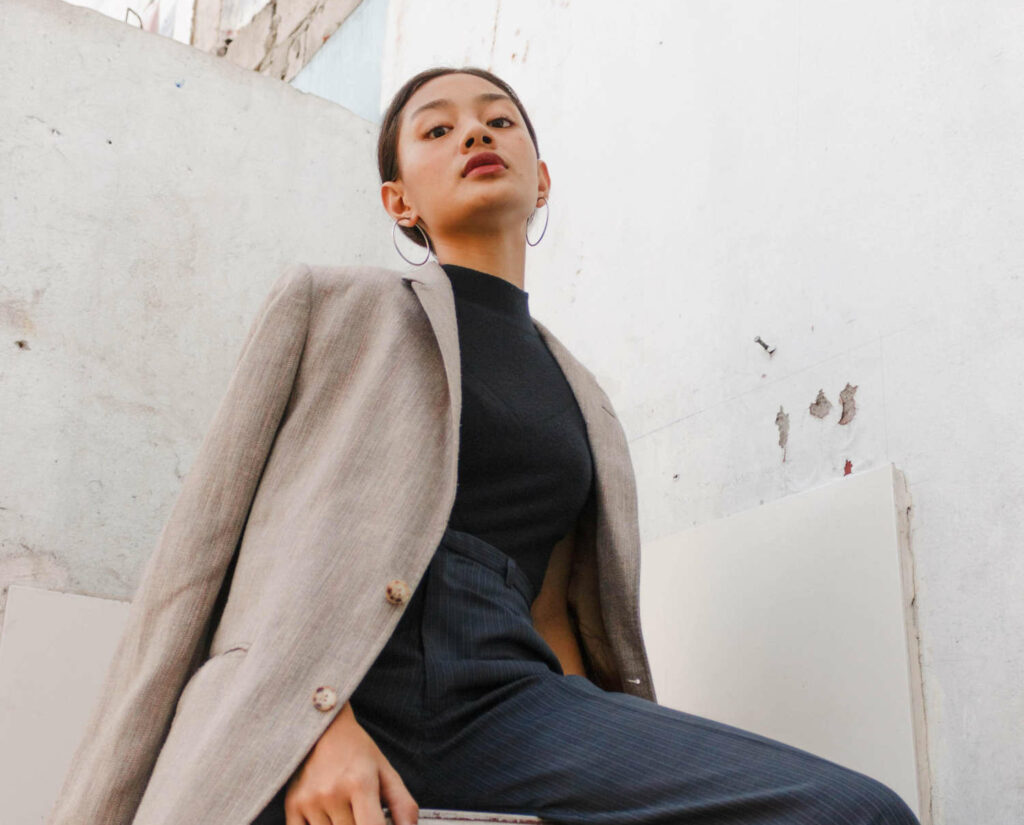
We’re talking angles for everyone and anyone; all shapes, sizes, and vibes apply. Learn about your face shape, pose naturally, discover the dos and don’ts of a likable portrait, and finally, snap that ah-may-ZING full-body pic with unabashed confidence.
Don’t be obtuse; we’ll have you looking right at the end of this breakdown because you’re acute!
Sorry about the puns; we couldn’t help it.
We’ve divided this course into four sections:
1. Best Angles for Your Face Shape
2. Flattering Poses for All Body Types
3. Do’s and Don’ts of a Great Portrait
4. How to Take a Decent Full-Body Pic
Use these tips to improve your selfie and photo game, enhance your most flattering facial features, and feel supremely confident in the images you snap. Then, pop your newest selfie up on Photofeeler to see your scores rise, all thanks to your amazing angles.
1. Best Angles for Your Face Shape
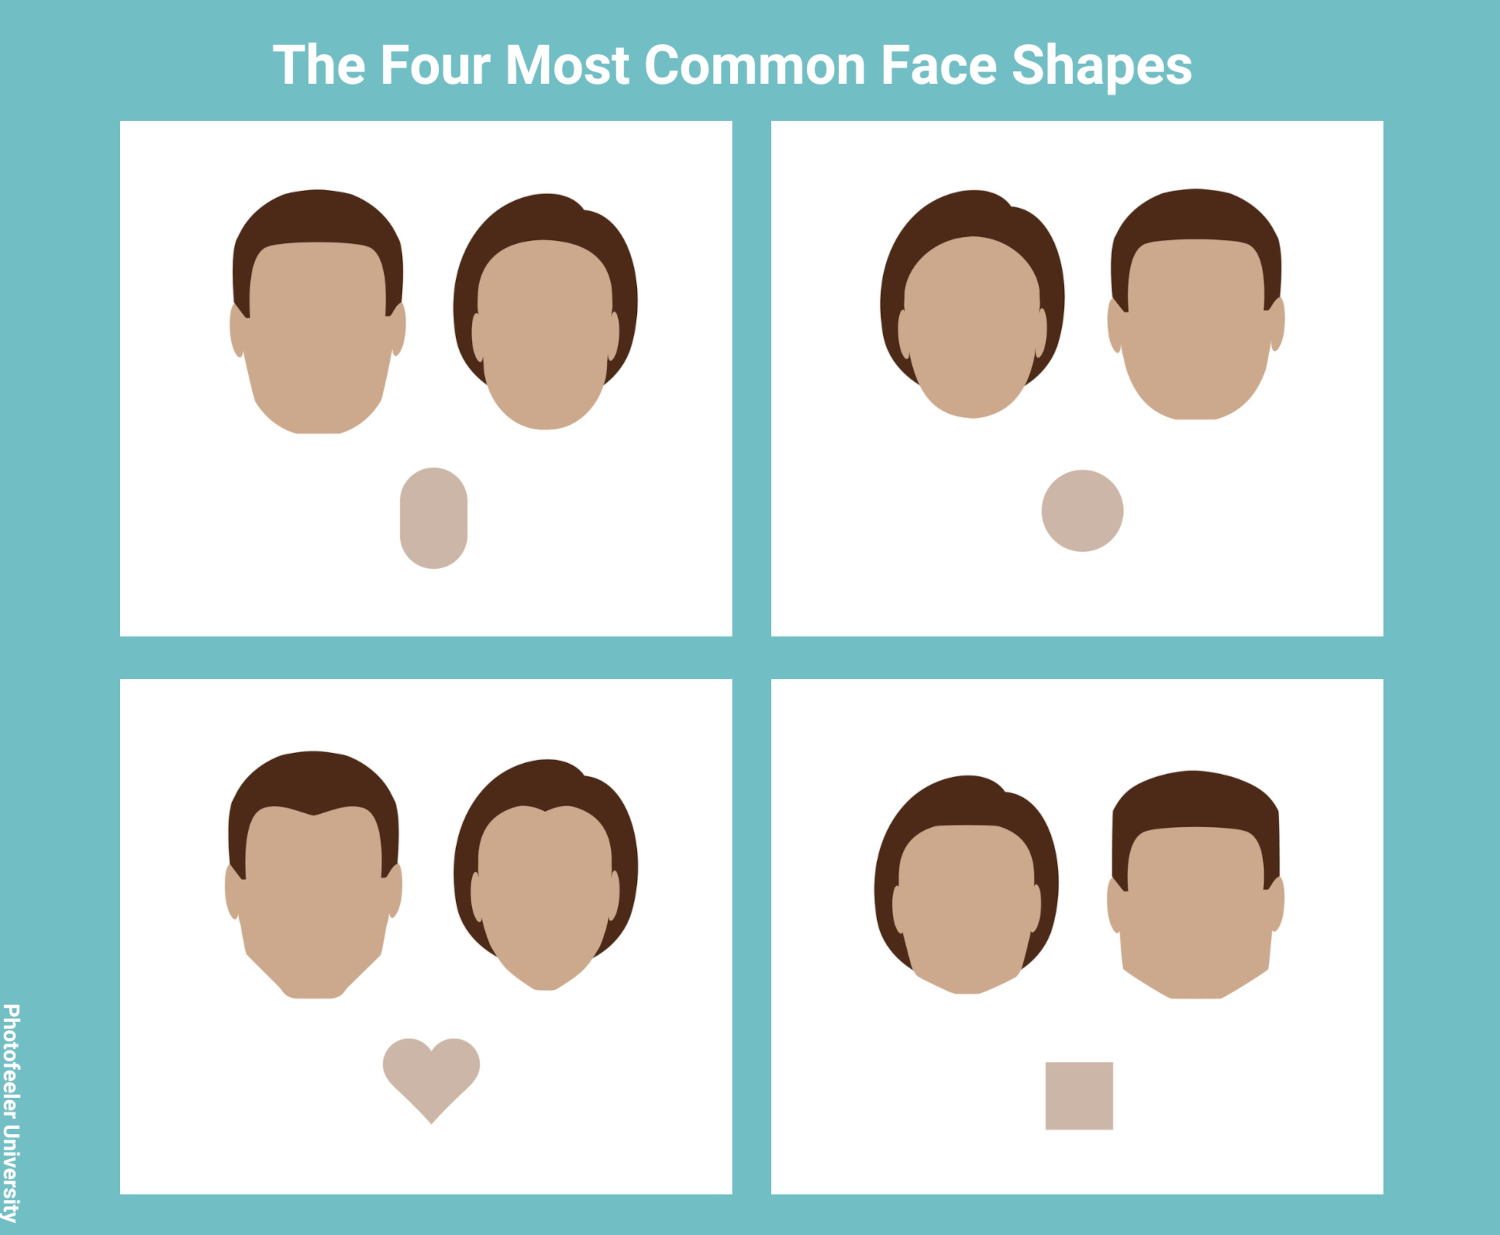
Most faces fall into one of four unique shapes: oval, heart, round, and square.
Knowing your face shape is a superpower because you’ll learn to work the good, the bad, and the ugly (going easy on the last bit). Get started by finding your face shape here.
We’ll wait…
…
All shaped up? Nice!
If you’re not 100% sold on one face shape or another, you may be working with one of the rarer shapes like the rectangle, diamond, or pear. However, our focus today lies on the original four face shapes, and we’ll be dishing up the most photogenic angles for each.
⬮ Oval Face Shape
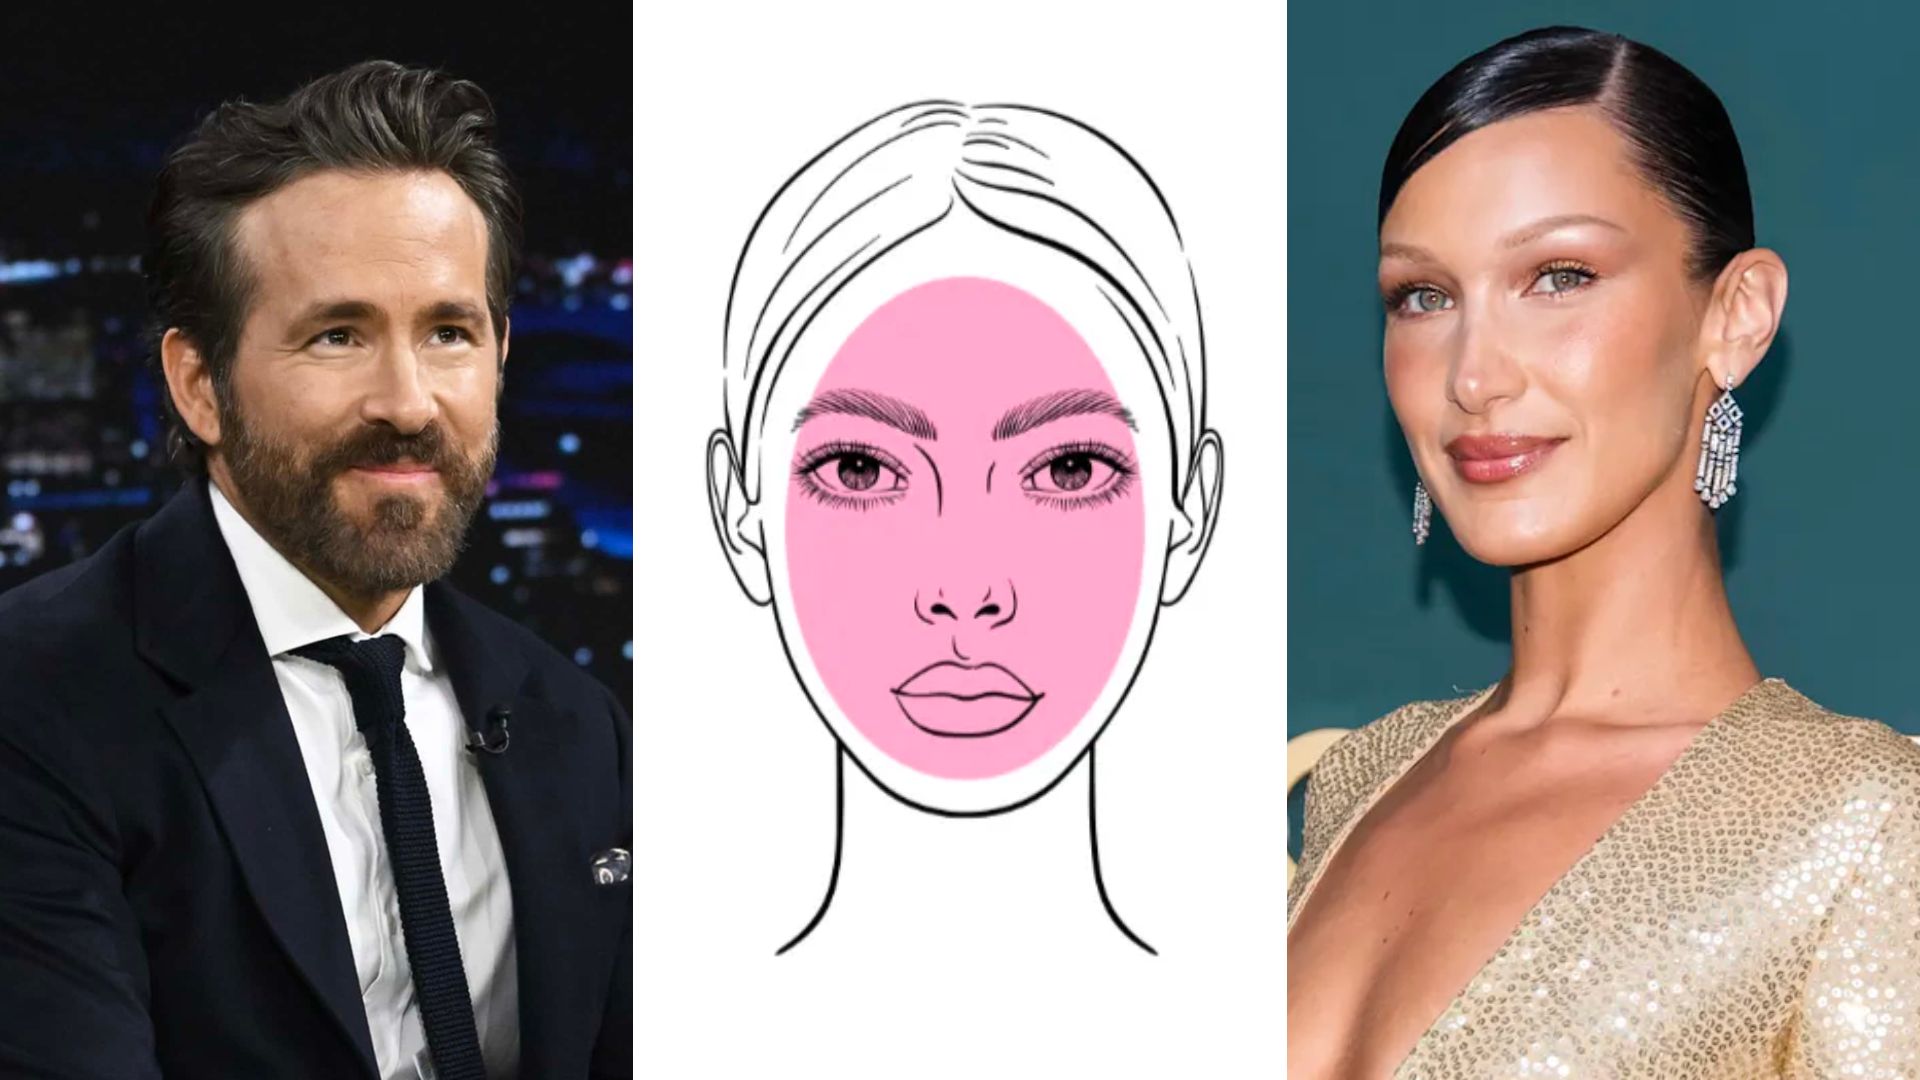
Oval faces, assemble!
The first step in shooting a stunning selfie with an oval face shape is to keep your hair behind your ears. Having too much hair crowding your face elongates its appearance.
To look like Beyonce (no promises here), shoot from a slightly lowered angle, pushing your chin out, forward from your shoulders, and tilting it down a bit. Doing so emphasizes your neck and jawline, casting complementary shadows that create a fuller-looking shape.
Still not feeling the perfect Beyonce look? Sprinkle in some sexy with a pursed lip. *sizzle*
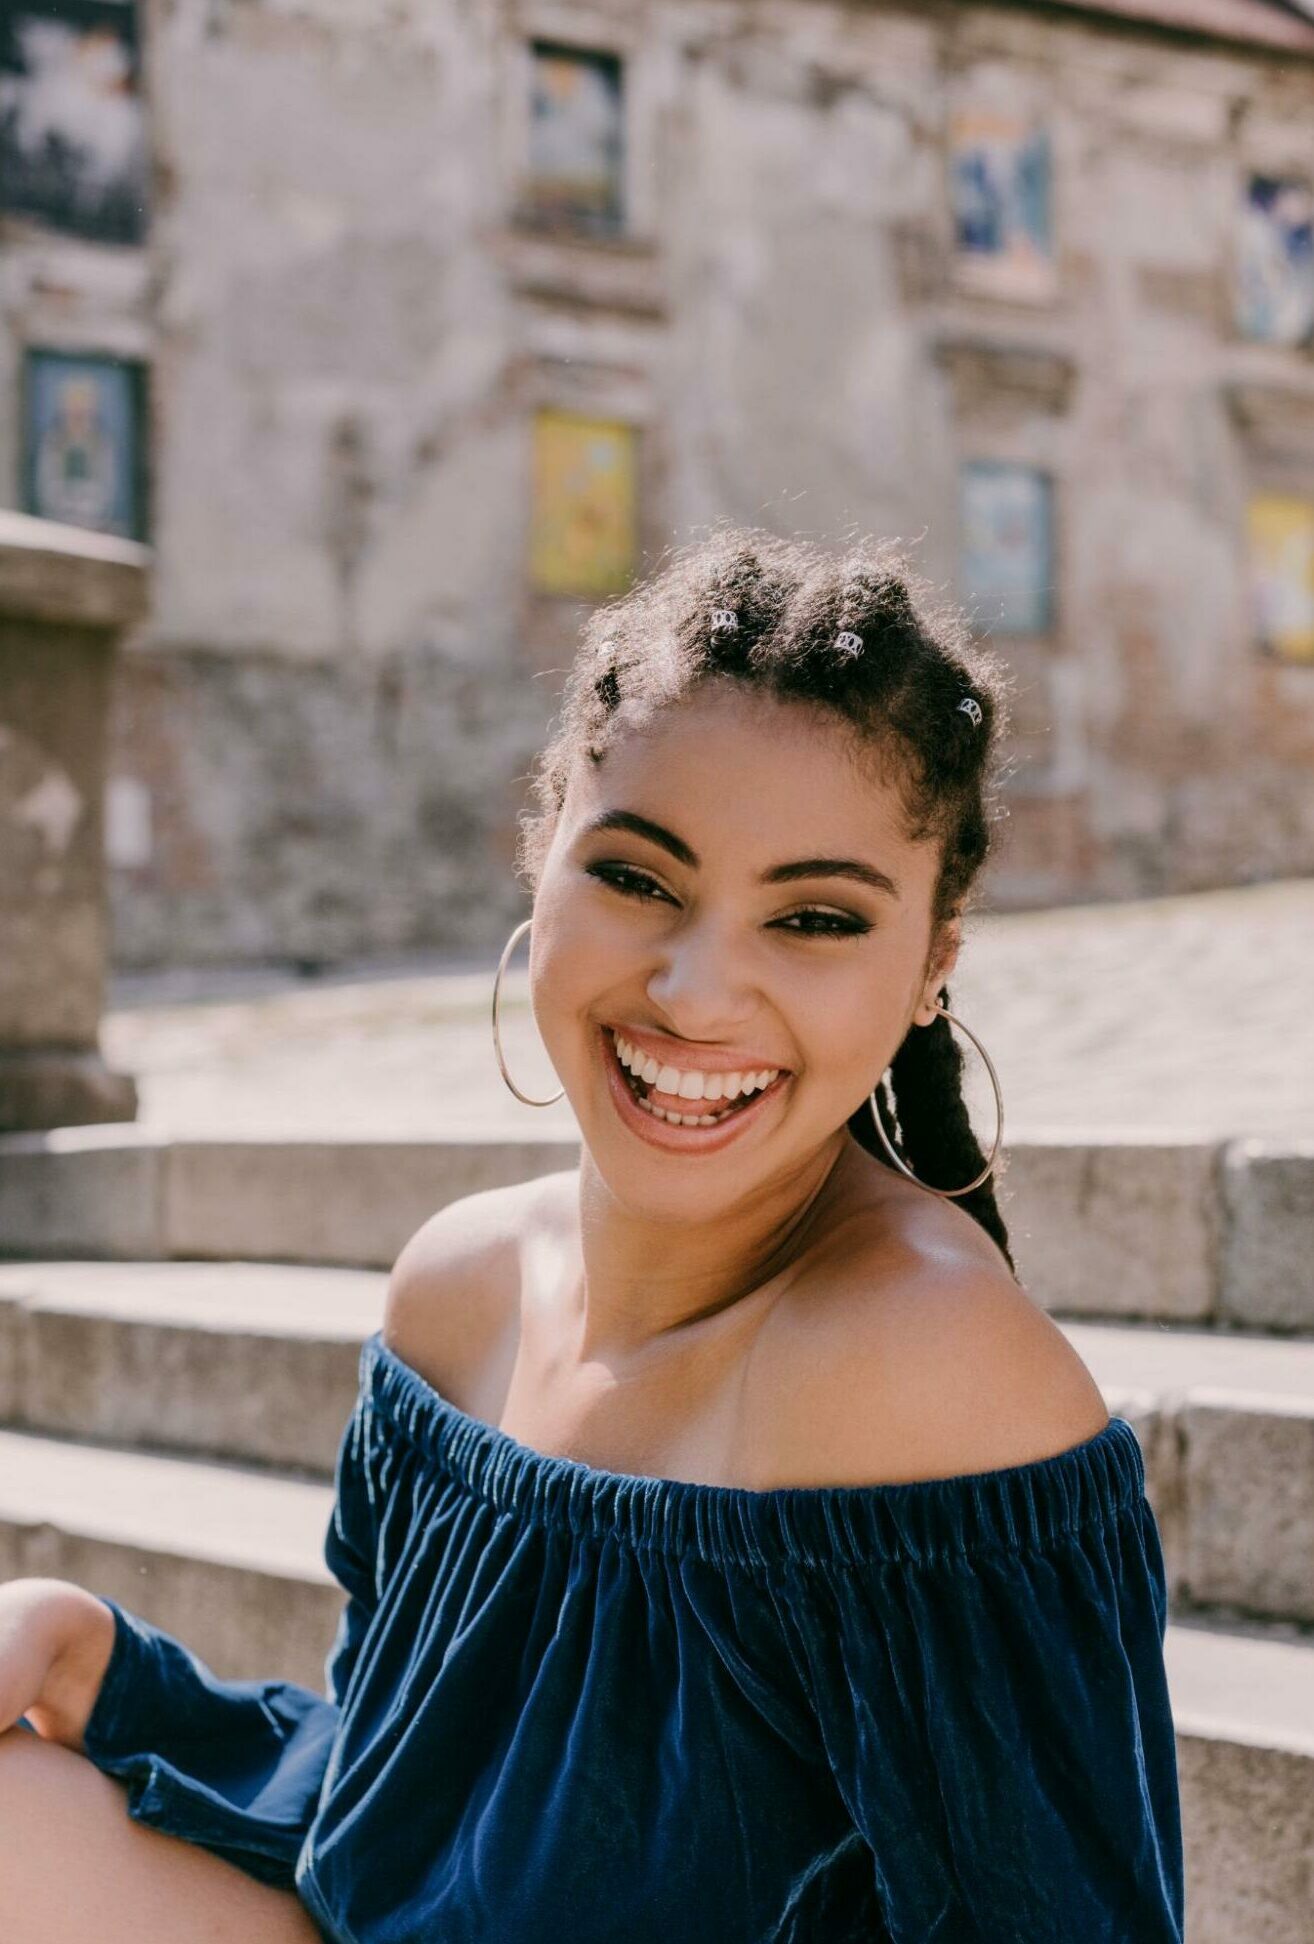
🧡 Heart Face Shape

Ah, the coveted heart-shaped face. You guys have it so easy! You have the most photogenic face shape in all the land, not to mention a chin that can cut glass (handle with care people).
Heart-shaped faces make for pretty photographs from any angle, even when taken straight on with the camera.
Flash a gigawatt smile to further enhance your looks. It lifts your cheekbones and draws attention to the middle of your face and those sparkling peepers.
Your chin is your greatest weapon, so use it to your advantage by tilting it at a barely curved angle to supercharge your eyes and add intrigue. Take heed though, don’t stick your chin out too drastically, or you’ll be all neck.
🟢 Round Face Shape

Rollin’ on to round faces, the youthful, full face shape.
The best photos of you are taken from a slightly upward angle. Keyword: slightly. Hold your phone a few inches above eye level and *click.* Avoid shooting from under the chin unless you wish to look like an unflattering basketball.
If you want your face to appear longer, stick your tongue to the roof of your mouth to tighten the under-jawline area for added definition. It might feel weird, but nobody can tell you’re doing it– promise!
🟦 Square Face Shape
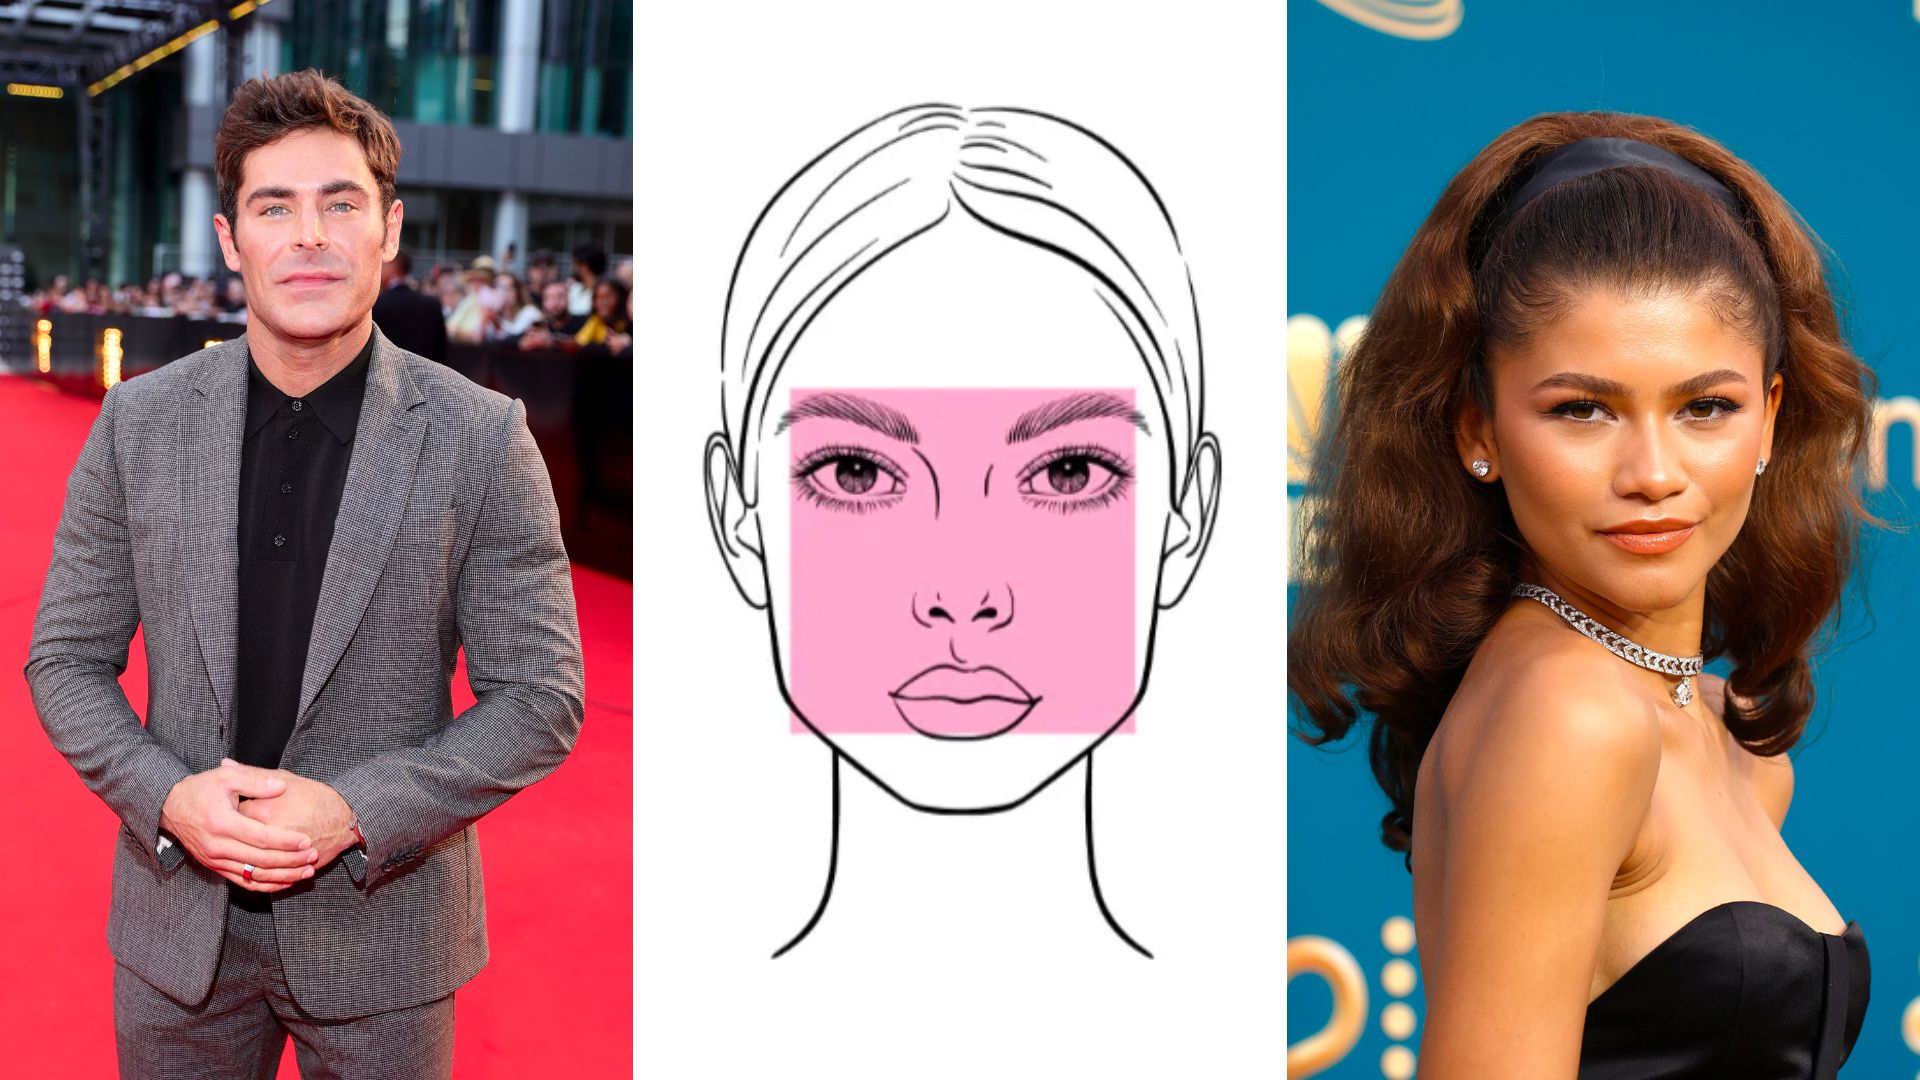
The square face shape oozes power with just a small degree of head tilt. For men, this face shape is rough and rugged in all the right ways. For women, the square face shape evokes power and intensity– instantly drawing attention to the eyes.
As strong as square faces are, never square off with the camera (hehe, we’ll shape up, promise).
It’s not that it looks bad; it just doesn’t do you justice.
Instead, lift your chin up towards the light and tilt to the left or right to achieve ultimate selfie success.
Also, never tilt your face down with a square shape. It gives boxy, straight lines that don’t serve up the same hot flavor that your epic features deserve.
2. Flattering Poses for All Body Types
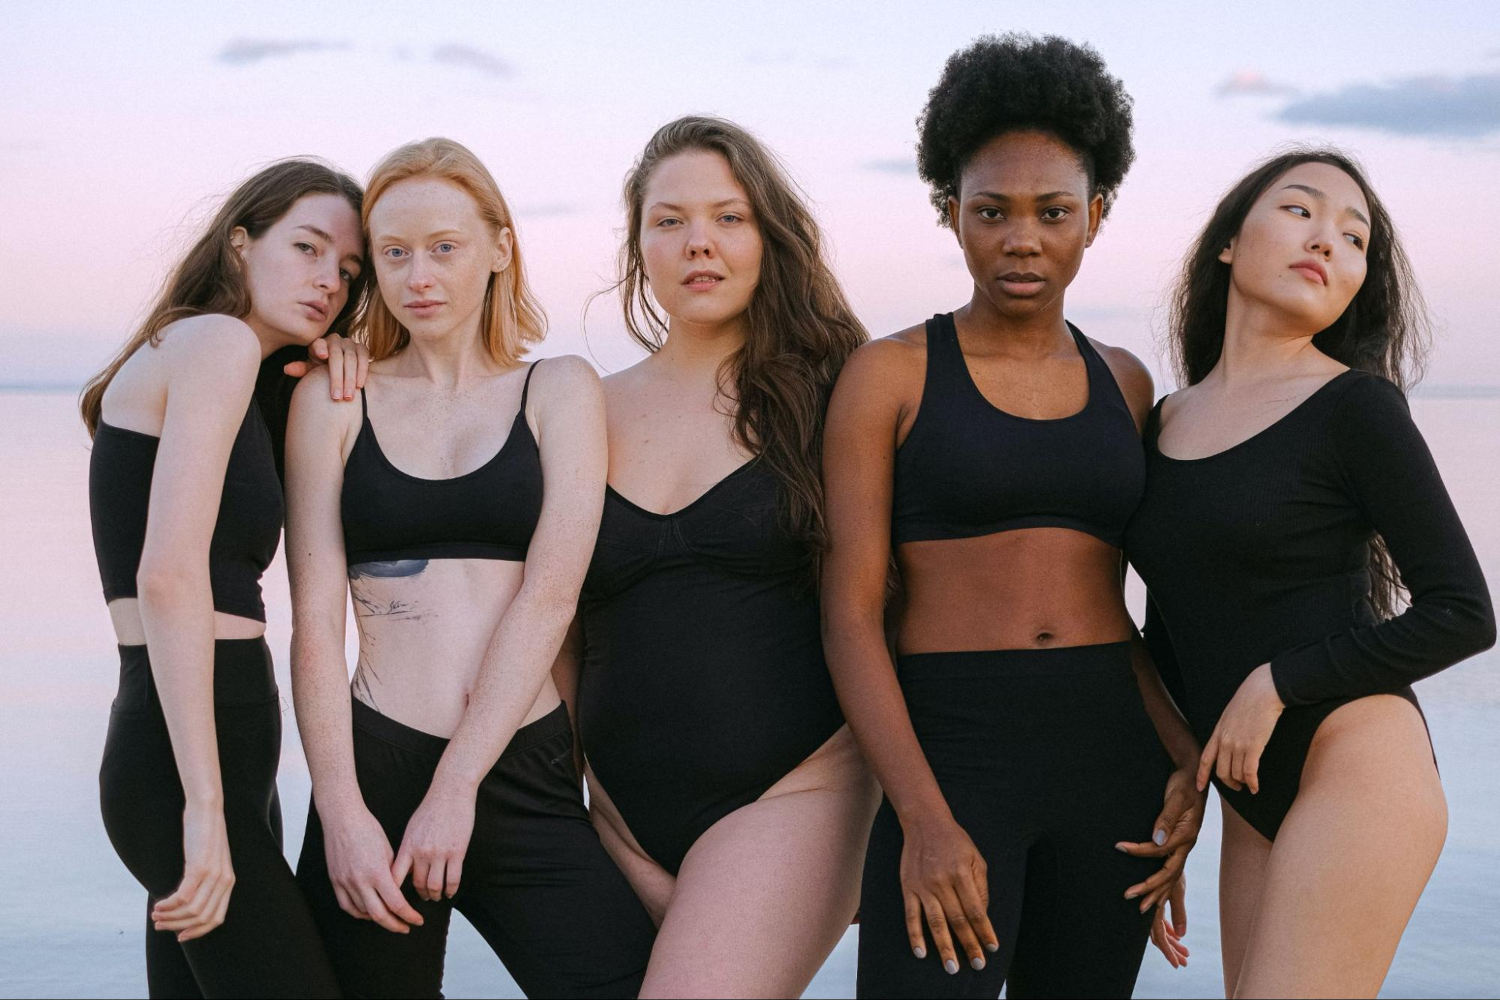
Standing straight-on to the camera is a no-go regardless of body proportions.
It doesn’t create angles, add lines, or provide any sort of reference. You’ll look stiff and awkward– definitely not what we’re going for!
If it bends, bend it (in a way that doesn’t send you straight to the chiropractor).
Loosen up, shake out the stiffness from your shoulders, and then pop a pose. You want to wiggle out the tension like you’re a giant spaghetti noodle. Then, sign, seal, and deliver your hottest stance.
Three universal pose commandments:
-
- Keep your shoulders back with the chin out, and positioned slightly upward. If it feels weird, it probably looks good.
- Never tuck the chin. It feels Vogue but it’s a photograph faux pas. Keeping the chin upwards, ever so little, ensures you catch more light on your face. Plus, it avoids awkward shadows and keeps the sneaky double chin in check.
- When in doubt, watch your angles. There’s a twist here, and it’s all in your waist and hips. Begin with positioning your whole body 45 degrees to the camera. Now, keep your hips and waist at 45 degrees but turn your shoulders back to the camera as much as you can without breaking your spine (20 degrees is fine). Viola! Angles!
If you want to look slimmer:

The 45-degree technique is especially valuable when you’re wanting to appear slimmer. Shift your weight to your back foot and distance your arm from your body to form a triangle.
But that’s not all, folks…
Stick your chin out and hold your shoulders back to add attractive angles while avoiding the dreadful double chin. Once you practice this pose a few times, you’ll see what we mean. The combination of angles and body posturing oozes confidence.
If you want to look taller:
A cheat code to appear taller in photos is to take pics from a low angle and shoot upwards.
Stick one leg toward the camera and lean on your back leg, away from the lens. Your legs must be the closest thing to the camera; otherwise, it’ll shrink you.
Or you could wear some stylish stilts…
Just kidding, go rock that hip back and work that front leg.
If you want to look curvier:
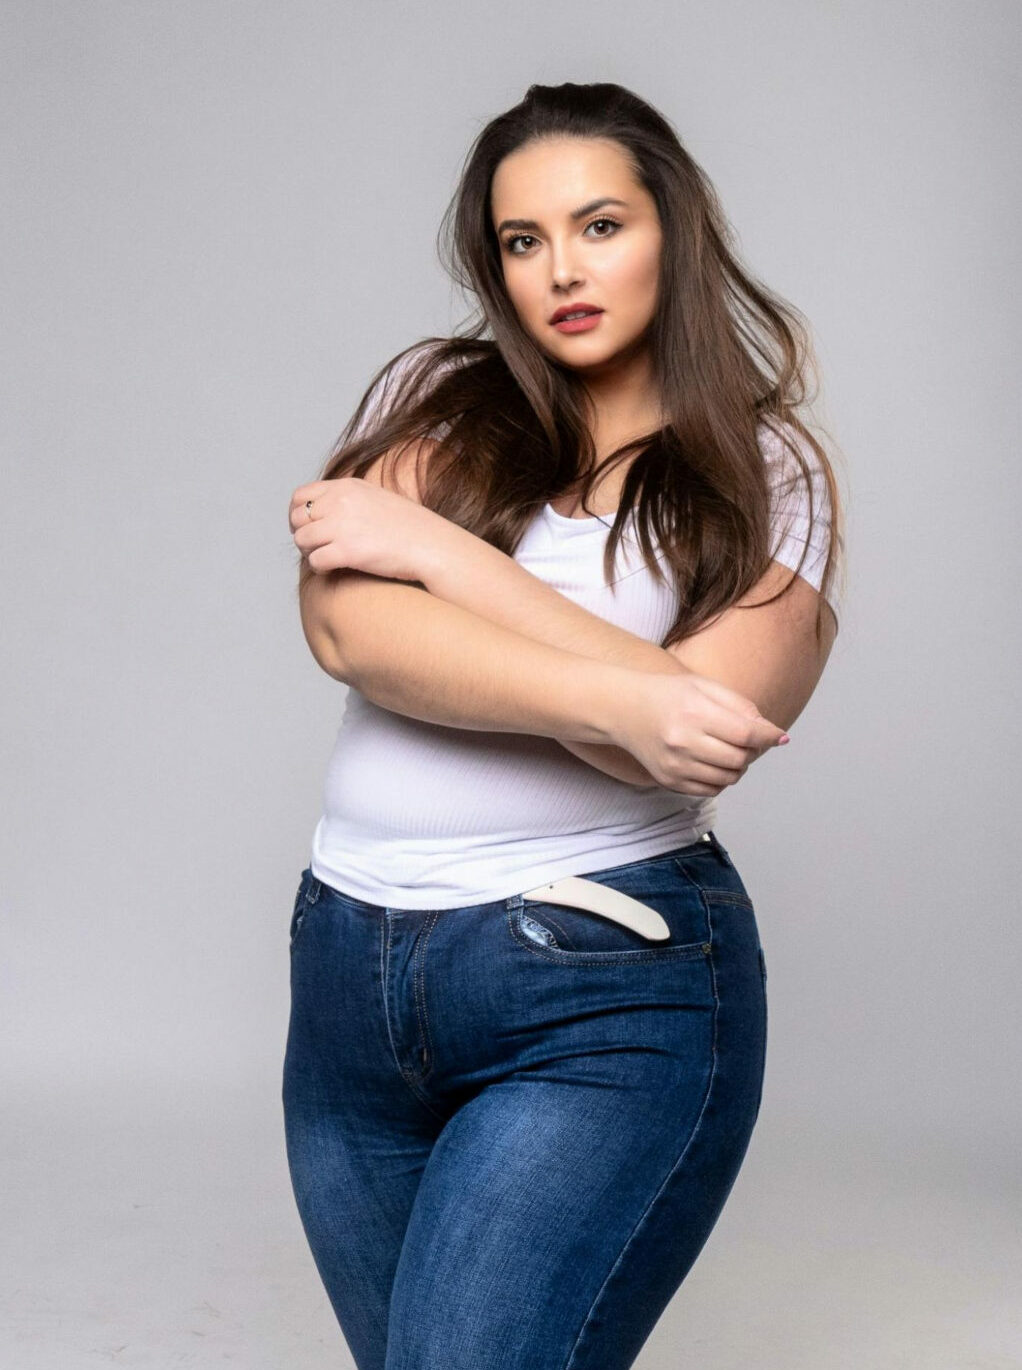
Instead of standing and leaning back, cross your legs; having one foot in front of the other emphasizes the hips and waist.
Pose at a 45-degree angle to the camera, shooting upward. Now follow these steps, 1-by-1:
Step #1: Pop the booty out. Don’t break your back, but work that thang.
Step #2: Twist your waist so that your hips are at a 45-degree angle to the camera but your shoulders are almost straight on with it.
Think hourglass, then become the hourglass.
If you want to look more confident:
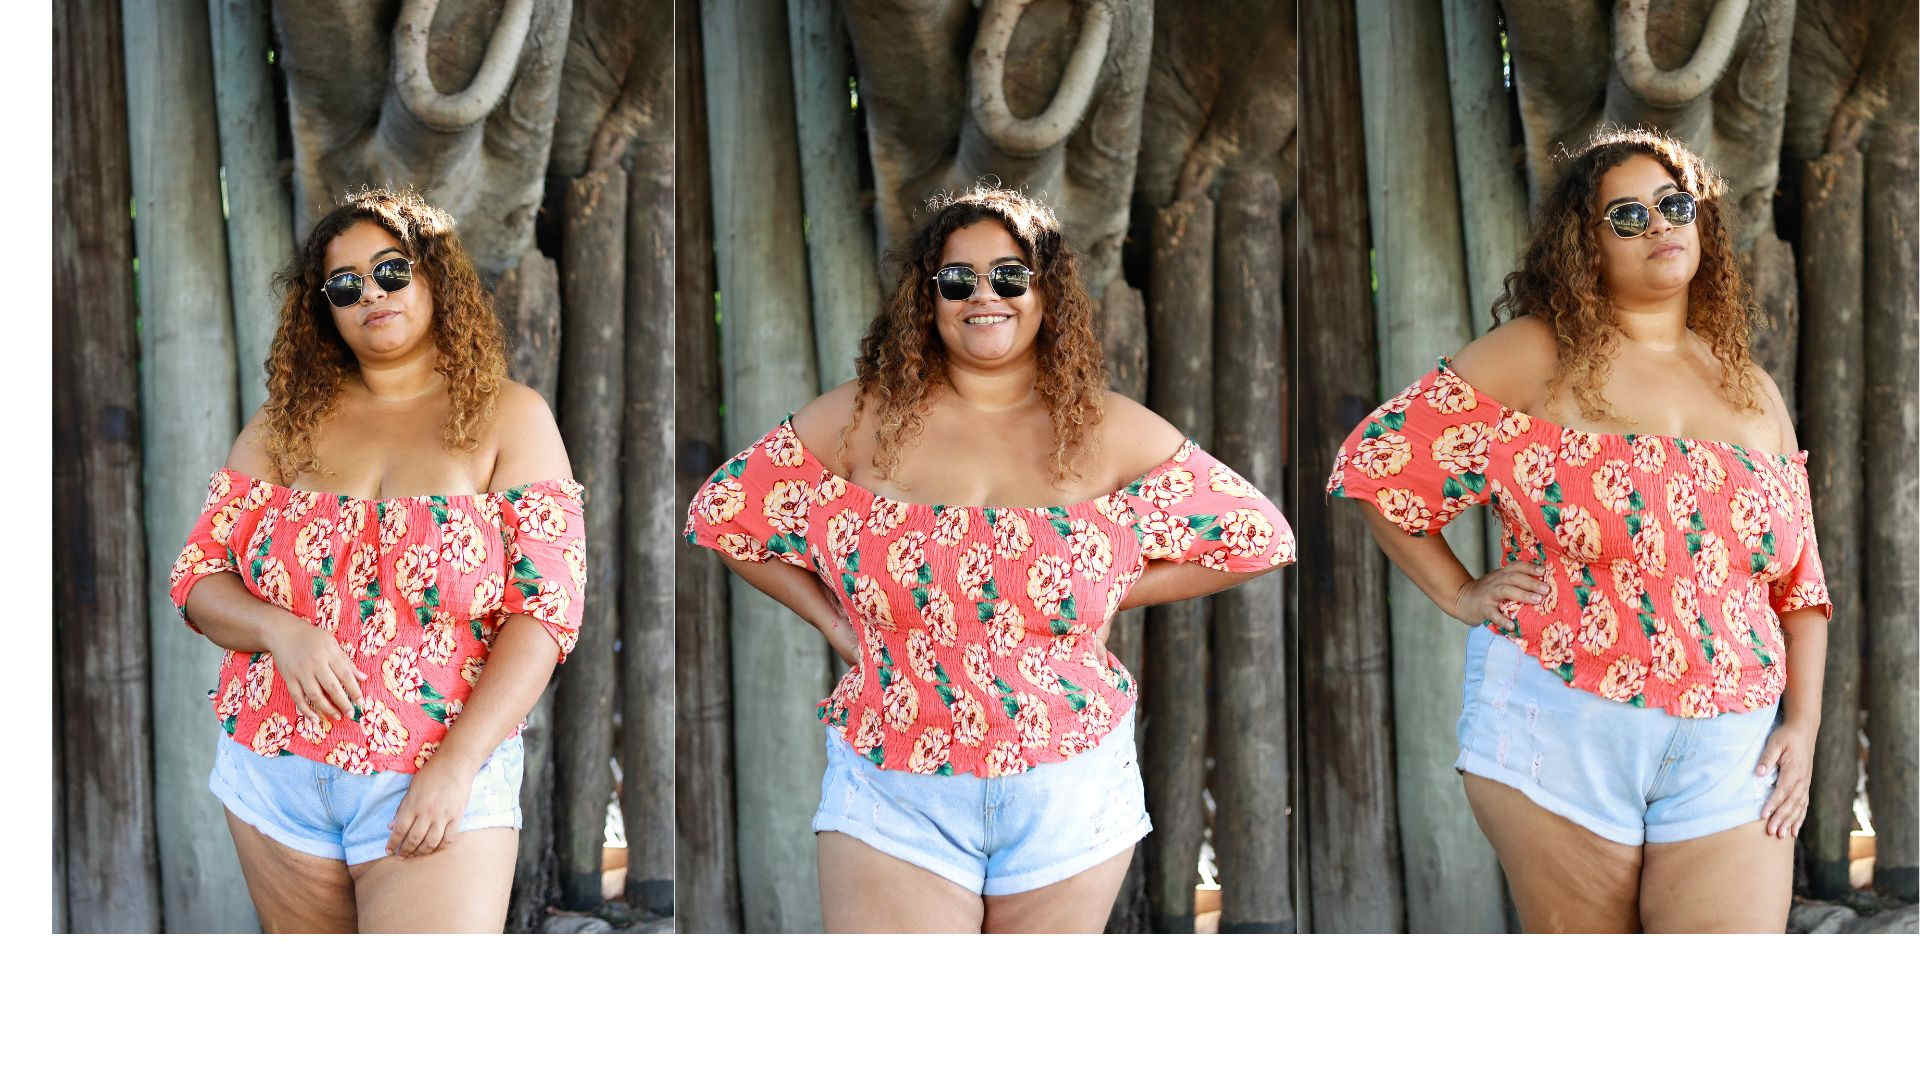
Create the illusion of an hourglass shape by placing both hands on your waist. But, remember to experiment with what looks best in terms of hand placement. At times, your hand could become a distraction from the rest of the photograph.
Having your hands too forward widens your middle, whereas popping a thumb out of the jeans, or drawing the hands a bit backward, helps narrow your waist. You always want your arms to complement your pose, holding them out from your body, instead of lingering on your sides.
We hope we gave you a hand (okay, we’re pinching ourselves to stop with the puns now) on how to style yourself confidently without overdoing it.
3. Do’s and Don’ts of a Great Portrait


Can we use the same shots for Tinder, Instagram, and Linkedin?
In most cases, no way Jose.
But at times, you could make an exception.
Getting creative on dating apps and social shots is highly encouraged, but it’s best to keep things professional if you intend to leave a killer first impression on your potential employer.
For any profile photo:
- Keep it current. Most people agree that six months max is the cutoff period before you need to update your profile photo for accuracy’s sake.
- Keep it natural. Don’t force a smile, pose, or vibe– as cliched as it sounds, be you!
- Don’t pile on filters. Yes, we can see through your elf ears, Kenzie.
- Avoid selfies. Have someone take a photo of you or use a tripod instead of uploading a selfie.
When it comes to Linkedin profile photos:
- Look professional but personable. “Photofeeler, does this mean a blazer with champagne in my hand?” No, no, it does not. Avoid photos of partying, friends, and random chaos, and snap a shot relevant to your industry.
- Stay sharp; sharply dressed, sharply fresh, and sharp image quality.
- Avoid distracting backgrounds at all costs. Backgrounds that clash, hide, or distract come off tacky.
- Posture is everything. Maintain strong shoulders, make eye contact, keep your chin up (but not looking up your nose, up), and be mindful of your hands.
When it comes to social or dating app profile pictures:
- Stay close to the camera, but not too close. If the photo is too zoomed in, users will feel like you’re up in their personal space. If it’s too far away, it gives daters the impersonal vibe of stalking you from afar.
- Shine bright like a person (not a diamond in this case). Be intentional with your lighting. Watch out for pesky shadows or overexposed brights that wash you out.
- Candids are fan favorites. Hinge reported that candid pics receive 15% more likes on dating apps. Hear that? Get to rehearsing that fake laugh ASAP.
4. How to Take a Decent Full-Body Pic
All dating apps recognize full-body pictures as one of the must-haves in your gallery.
While this intimidates some users, it’s a win for everyone.
A lot of curvy girls think they’re fat and underestimate how many men are really into their shape. If you’re self-conscious about your weight, uploading a full-body picture helps filter out daters that don’t like you for you, and that’s going to save loads of trouble in your search.
After practicing a few posing tips, you’re ready to snap your next full-body pic.
If it looks like you’re taking a photo for the sole purpose of showing off your body, then it’s a pass. If it looks like you’re in the middle of something, and you got caught without a clue, you’re on the right track.
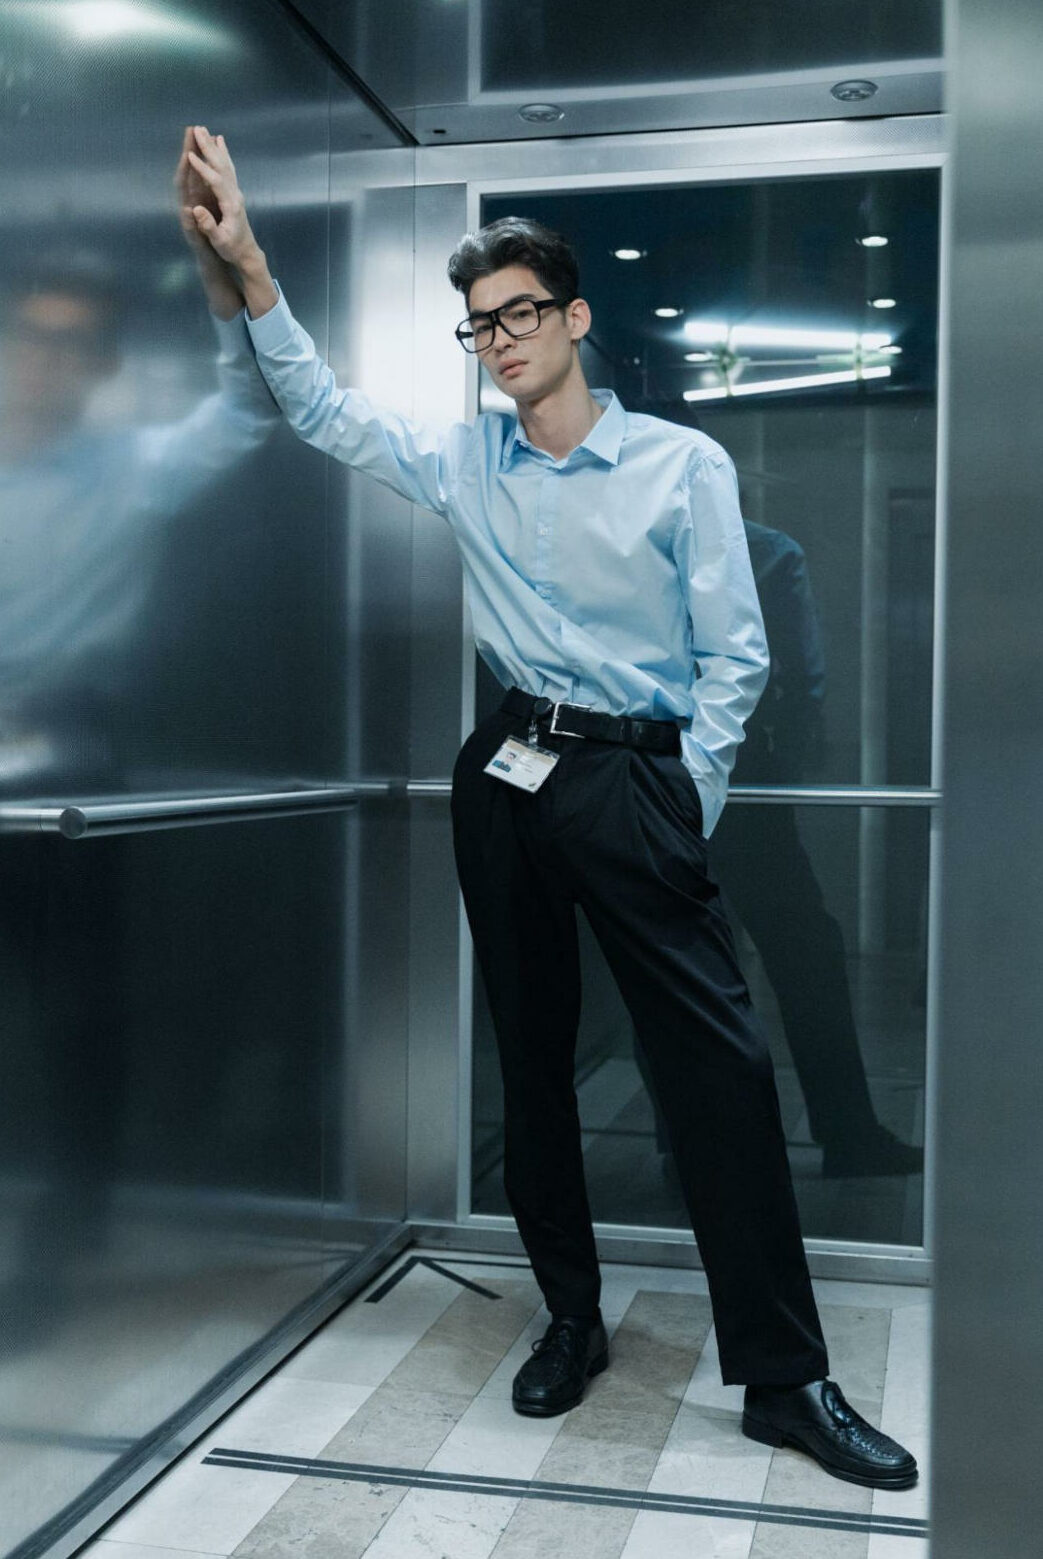
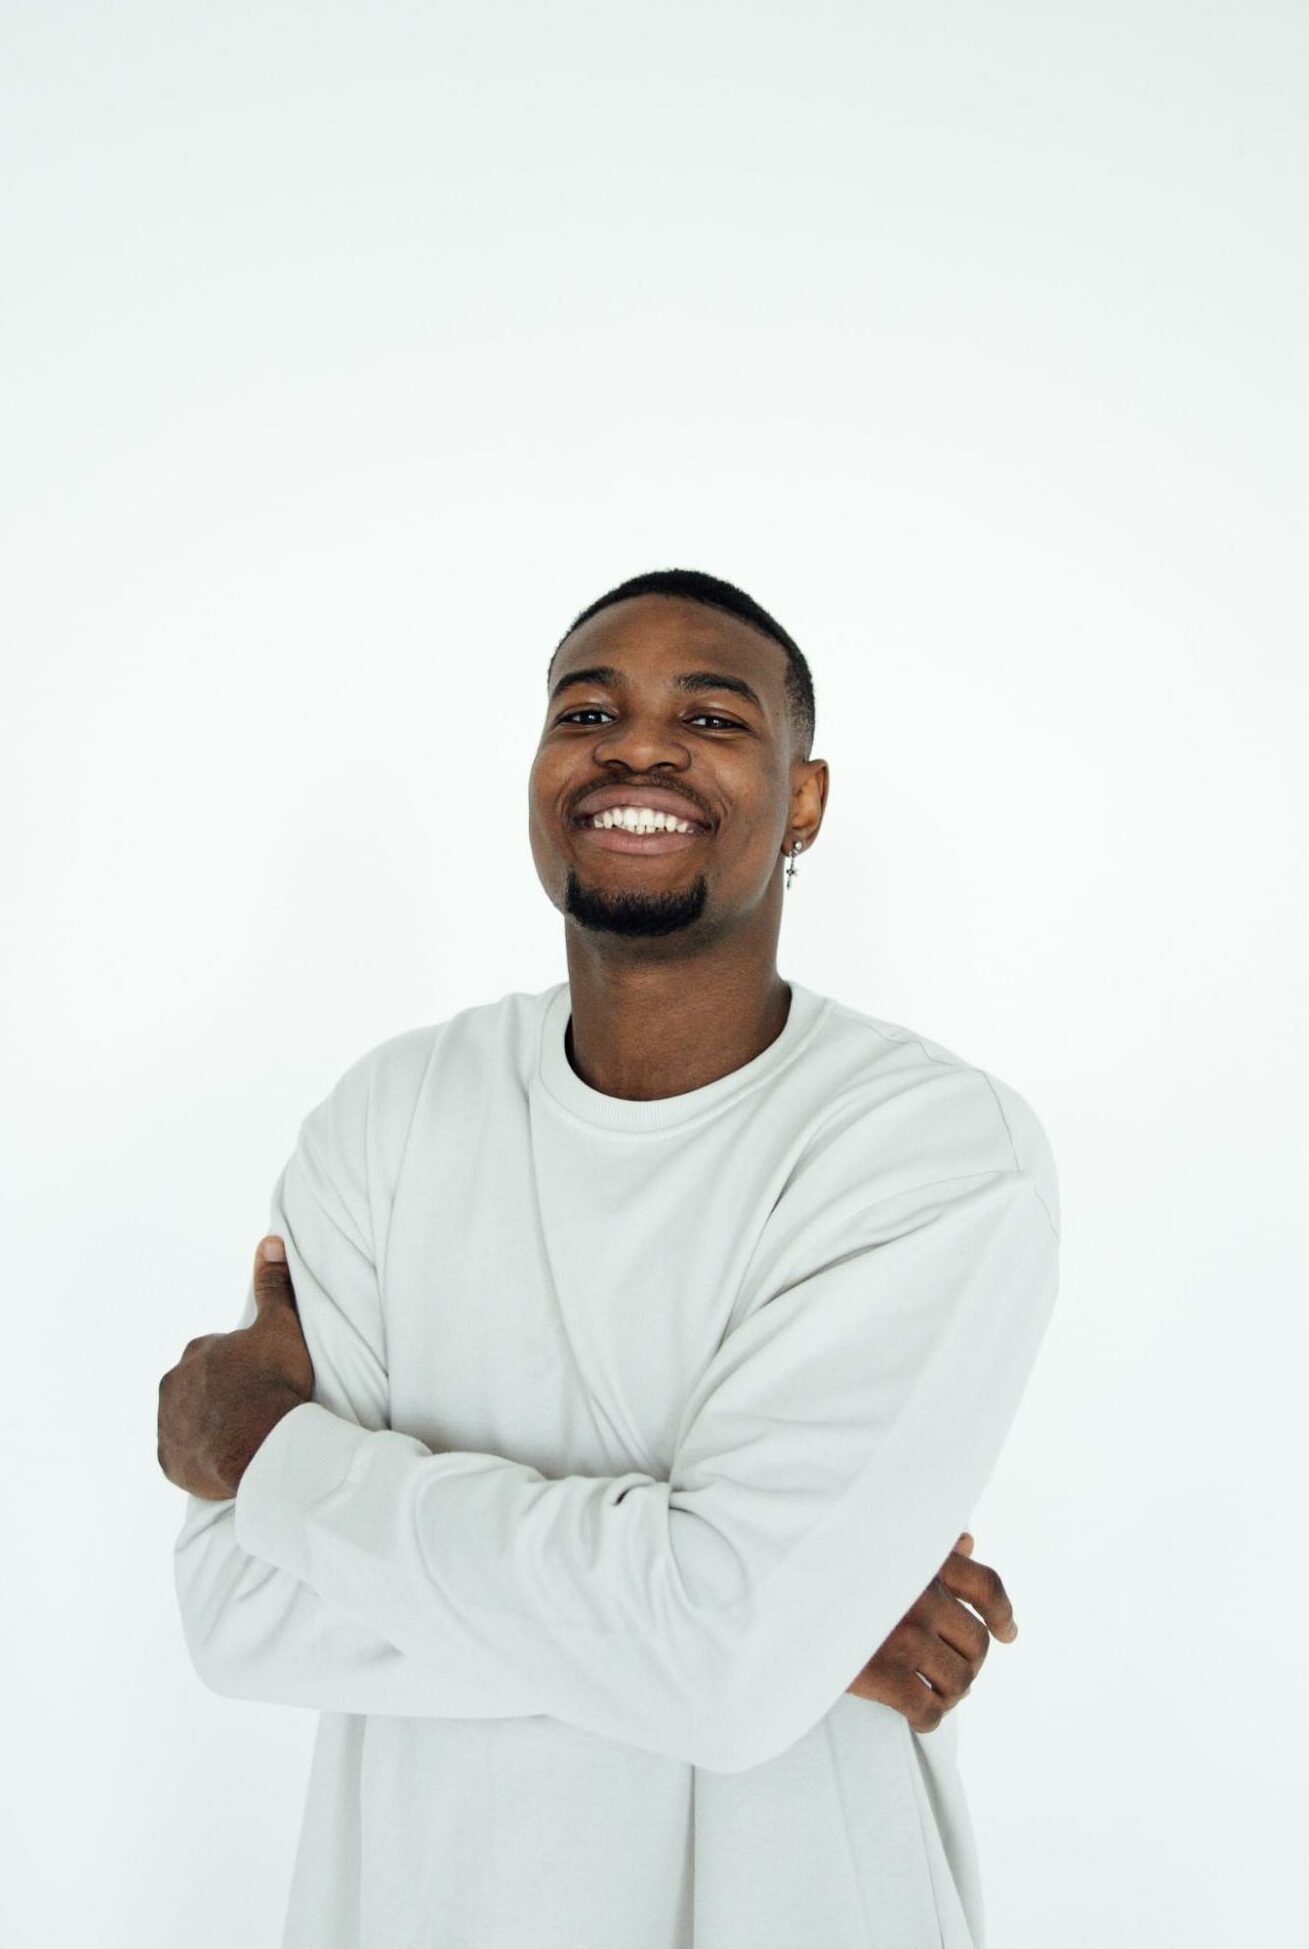
For Men:
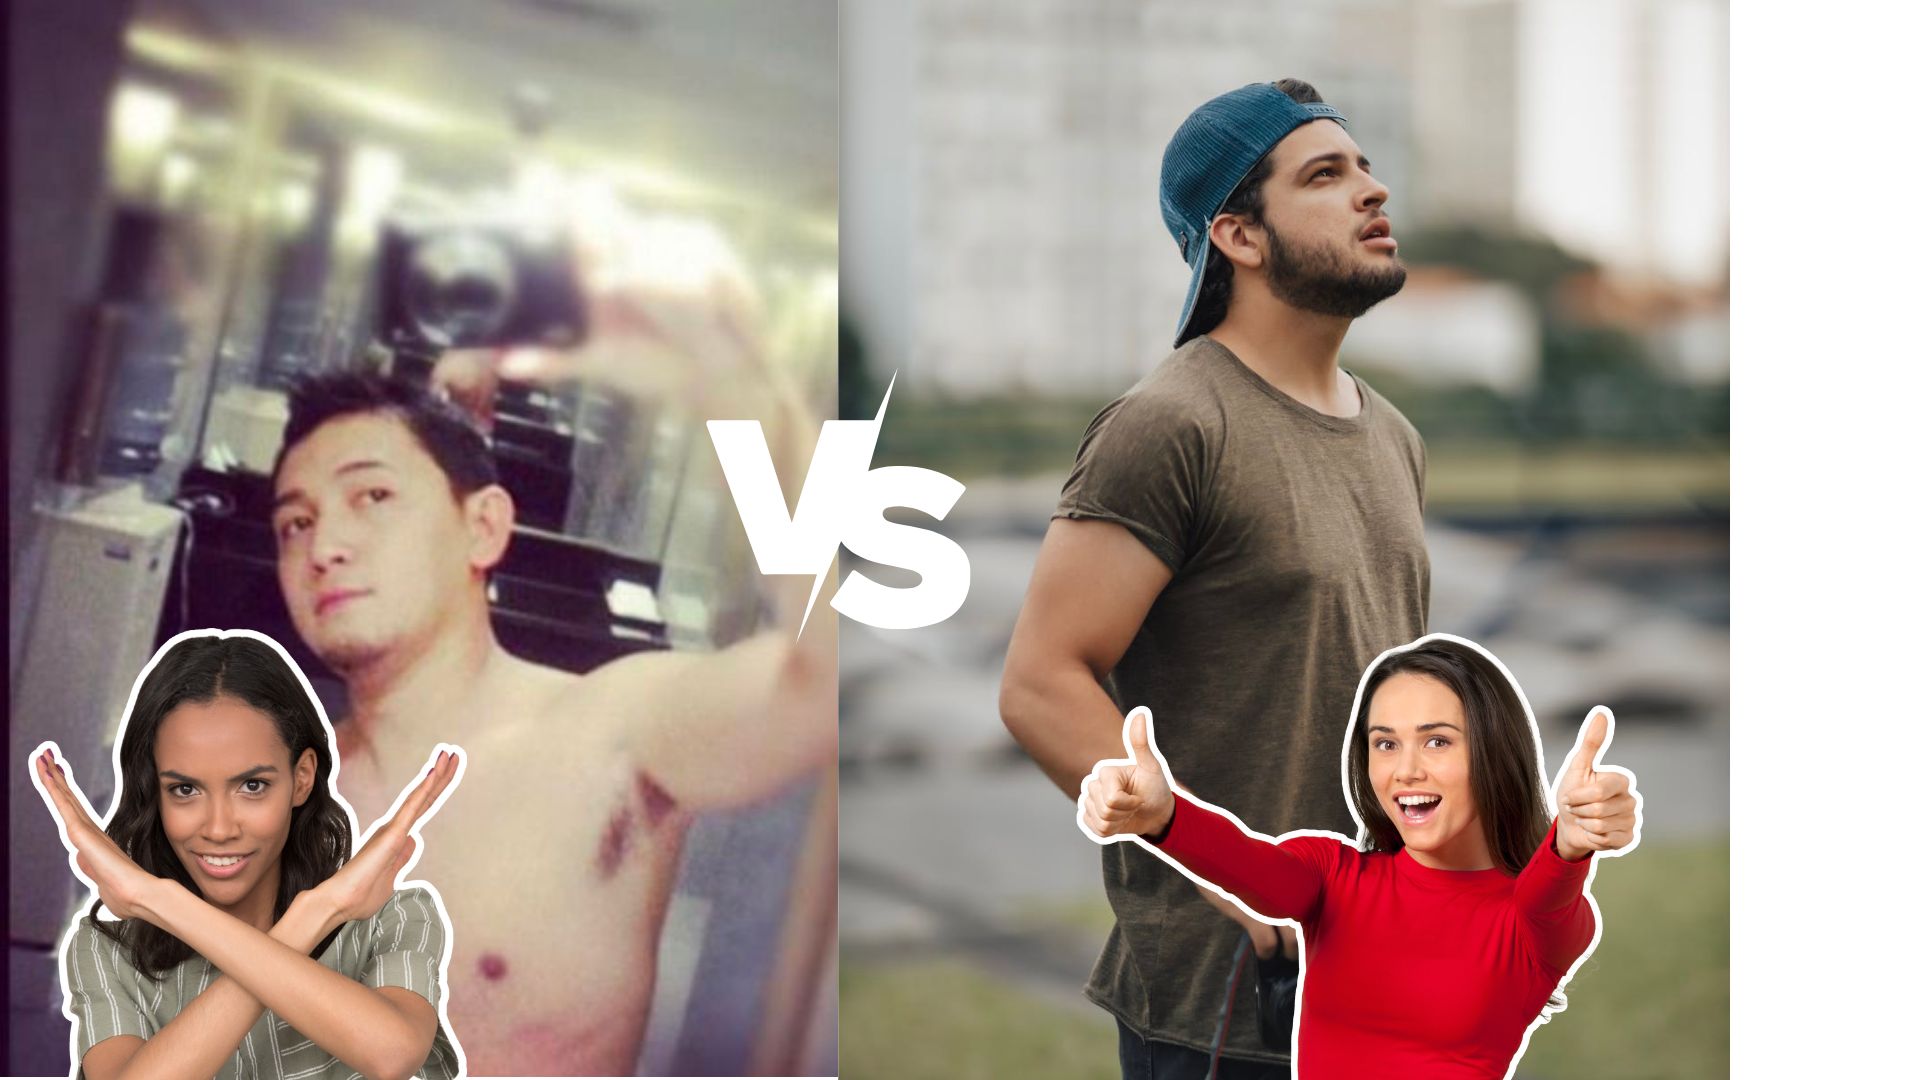
- Avoid shirtless gym selfies, even on Tinder.
- Have someone else take the photo; it looks 64% less douchey (yes, we made up that statistic).
- Emphasize your arms in the photo, not by flexing like a roidhead, but naturally pumped in a well-fitting shirt. Trust us on this one.
- Candids go far– if you get snapped during surfing or a shirtless activity, that photo is fair game to post on the apps. Test it on Photofeeler before posting it just to ensure it passes the “smart” and “trustworthy” quotas. For men, it’s vital for matches to feel safe meeting you– and it boosts your match rate.
- Don’t dress shabbily. Shirts without sleeves are for sleeping, don’t wear them in your profile photo. A well-dressed, full-body picture of you donning business casual or tux attire is worth at least 10+ brownie points.
For Women:
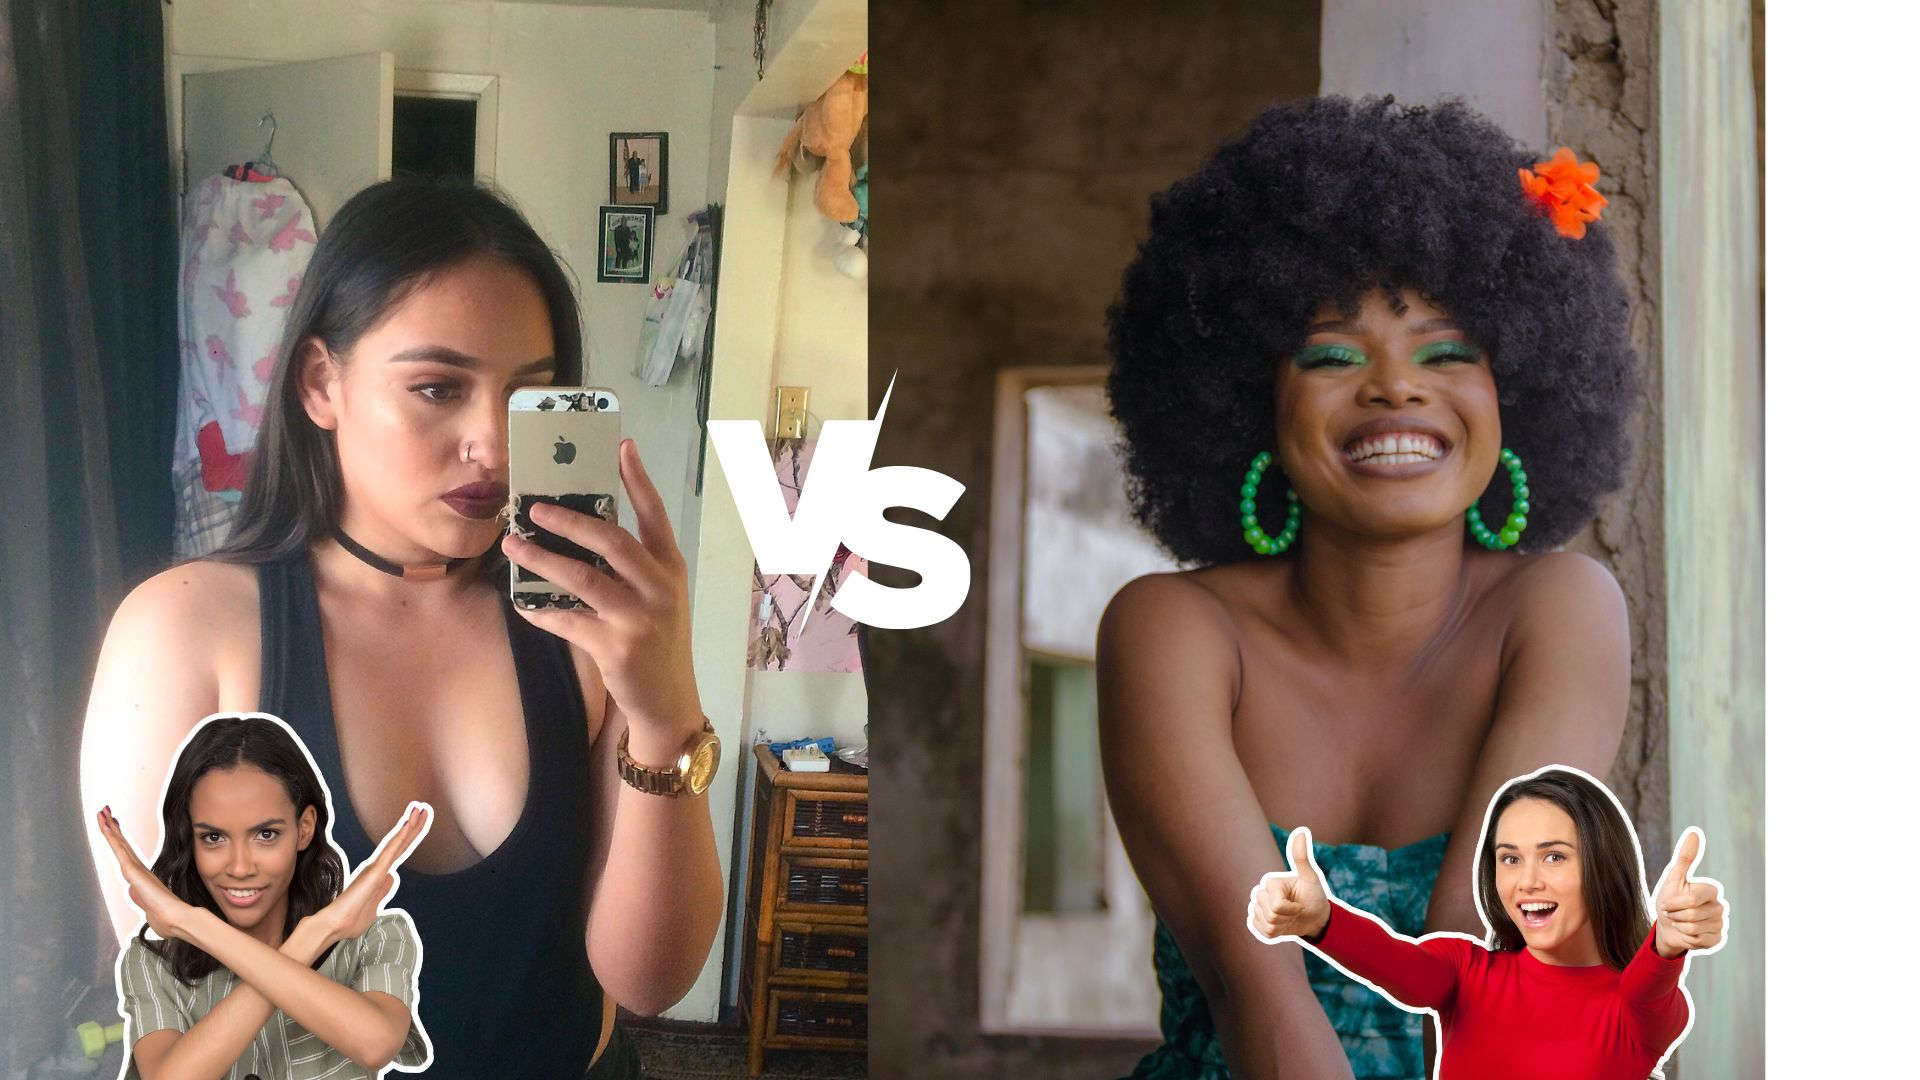
- For the bigger-busted girlies, it can seem challenging to show any skin without attracting the wrong attention. This doesn’t mean you need to change your wardrobe, but if you are having trouble attracting the right type of guy, test your photo on Photofeeler to see how it’s ranking on the “trustworthy” and “smart” scores. Refer to these scores for a second opinion if you find a photo too revealing.
- Find out what works for you by practicing your favorite poses in the mirror and adjusting the camera to ideal levels.
- Stay away from duck-faces and dog-face filters; no explanation is needed.
- Wear an outfit that expresses your personality! Most close-up shots offer a glimpse of your fashion taste, but a full-picture presents the whole picture.
- Face the light. Knowing where the light casts reflections helps minimize rough shadows or uneven textures. Keep your chin slightly upturned to portray confidence.
Strike a pose
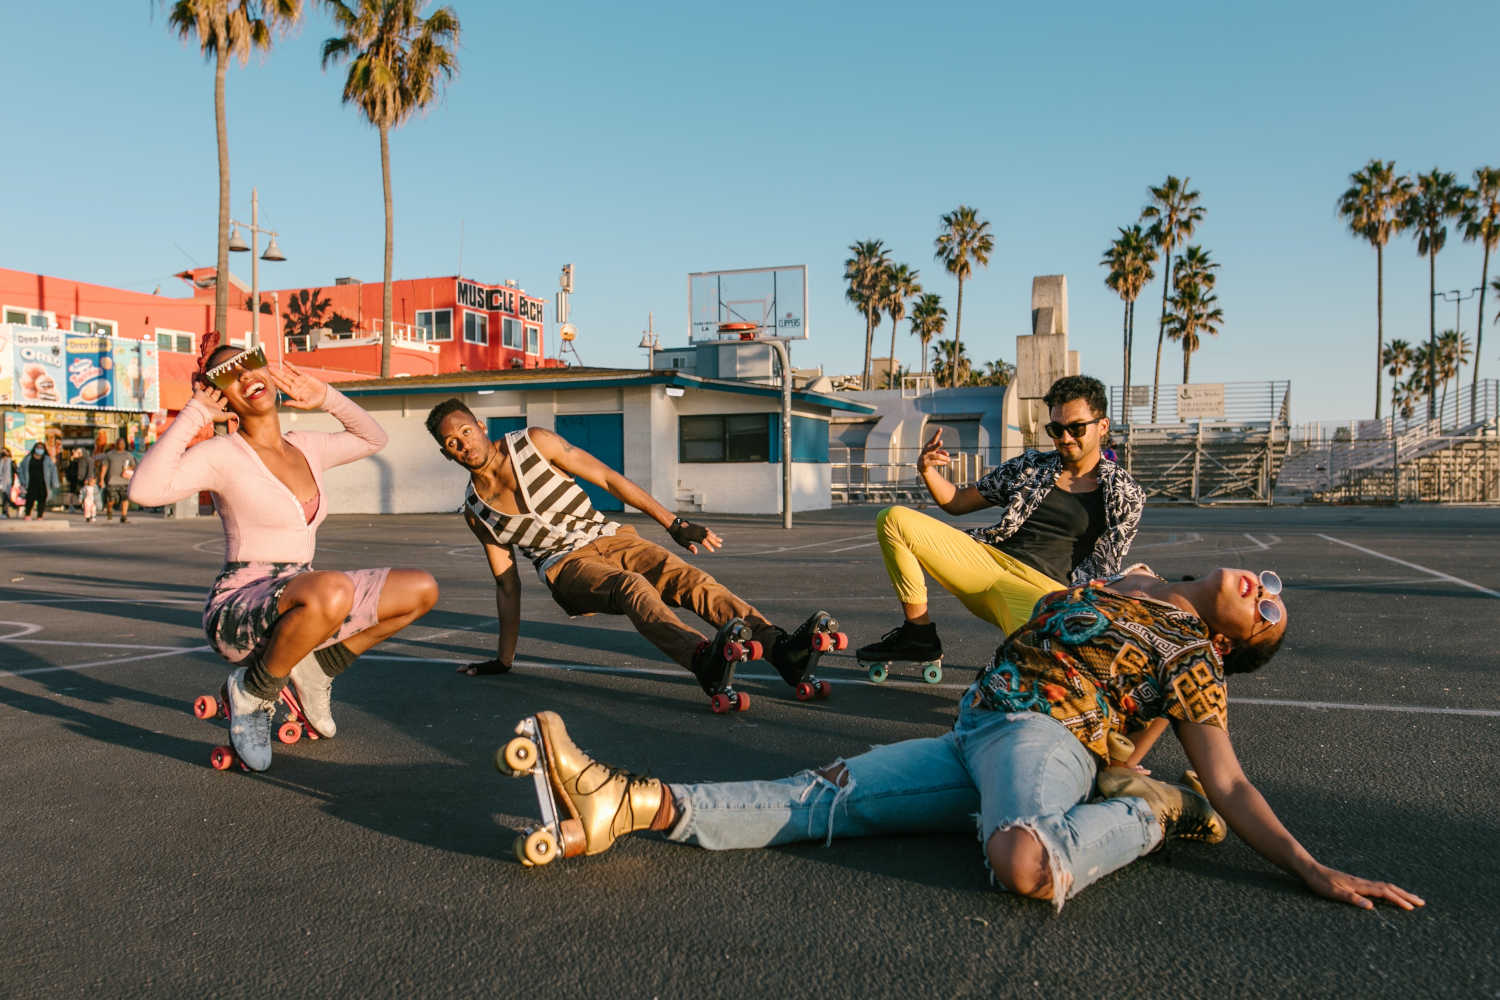
The world is your stage; the dating apps your personal art galleries– use them to your advantage and showcase the best version of you!
Test your before and after pics to see how the littlest things make significant improvements. Plus, many of these photo tips double as confidence boosters, so you’ll look and feel your best regardless.
Ready to jump into lighting hacks? Let’s do it!