Warm, cool, direct sunlight, fluorescent– these are all lighting terms, and their effects vary drastically.
Lighting is what gives you “the” glow, highlights your sultry features, or causes harsh shadows. Fret not; we’ll teach you how to avoid these mood dampeners like a pro.
By the end of this article, you’ll be able to adjust lighting for various conditions, understand how exposure works, and never rely on skin-smoothing, face-altering filters ever again.
This course covers four essential lighting sections:
1. Lighting Lingo
2. White Balance Modes
3. Intentional Lighting
4. Filter-free Edits
We recommend having your phone or camera nearby as you read this article to practice the settings in real time. By the end of the course, remember to take some snaps of yourself, edit them if necessary, and see how your Photofeeler scores improve with intentional lighting.
1. Lighting Lingo
Lights, camera, action– but first, let’s break down some technical terms that you might run across while shooting your photos!
White balance- the color cast over the whites in your photo. If the whites in your image appear orange, it probably means that its white balance is too warm, and you’ll need to balance it by adding blue tones. If your whites appear bluish or gray, add warm tones to restore them to a neutral white tone.
Exposure- how much light your camera lets in. If the bright areas of your photo look “blown out” or overly white and flat, the exposure is too high, and you should lower it.
Shutter Speed- how fast your camera takes a photo. You’ll need to adjust camera settings to a longer shutter speed that lets more light in for night shots or pictures taken in dark environments (like a tunnel or cave).
Shadows- the dark areas of images that appear so due to underexposure, dim lighting, or blocking by light.
Highlights- the brightest areas of an image that contrasts with its shadows to give depth to the photo.
Wide Angle- the .05x camera mode. It captures more of the surroundings within the frame of the shot.
Bokeh- the soft and out-of-focus background found in the portrait mode settings.
Composition- how different parts of a photo are laid out or intentionally used.
2. White Balance Modes
White balance is integral to understanding the colors of your image. Does your photo appear natural, too warm, or too cool? Check the whitest part of your pic for the answer, then color-grade it with confidence using these handy tricks.
Golden Hour

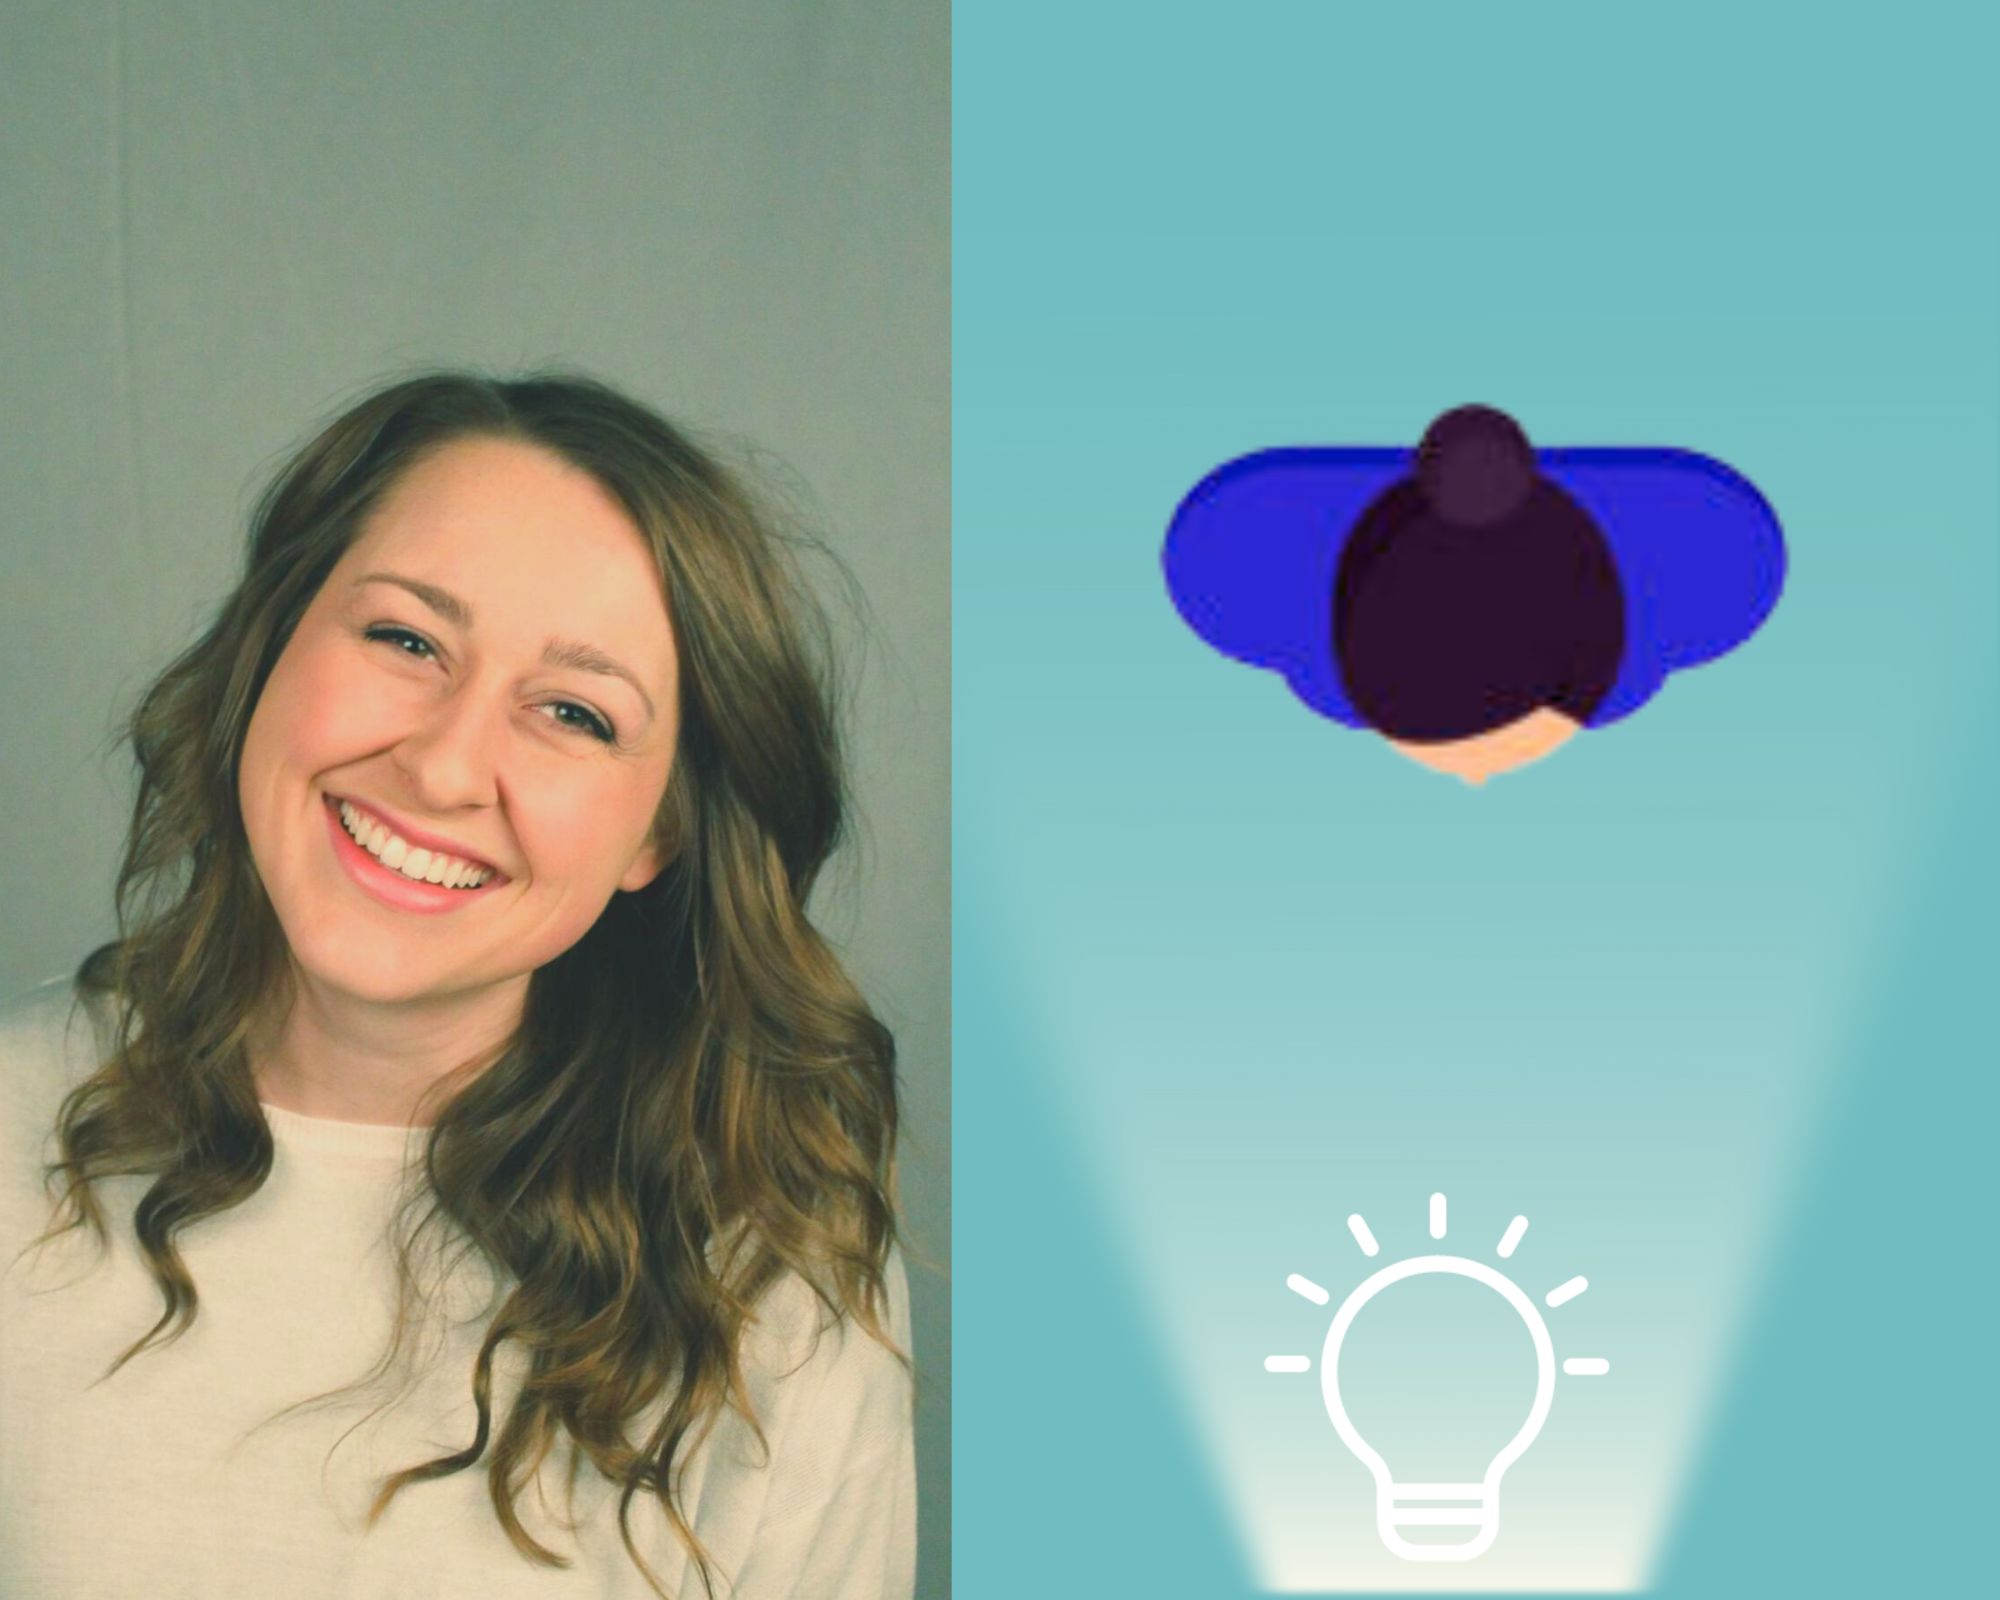
The ideal time of the day to take a photo is during sunrise or sunset. Sunrises are cooler and cast a purple hue; sunsets, aka “golden hour,” tend to be warmer.
The natural, warm tone minimizes facial blemishes and emphasizes eye colors; it’s really our lighting BFF.
There’s no need to adjust the white balance. Keep the golden colors of a sunset portrait; they’re flattering on everyone.
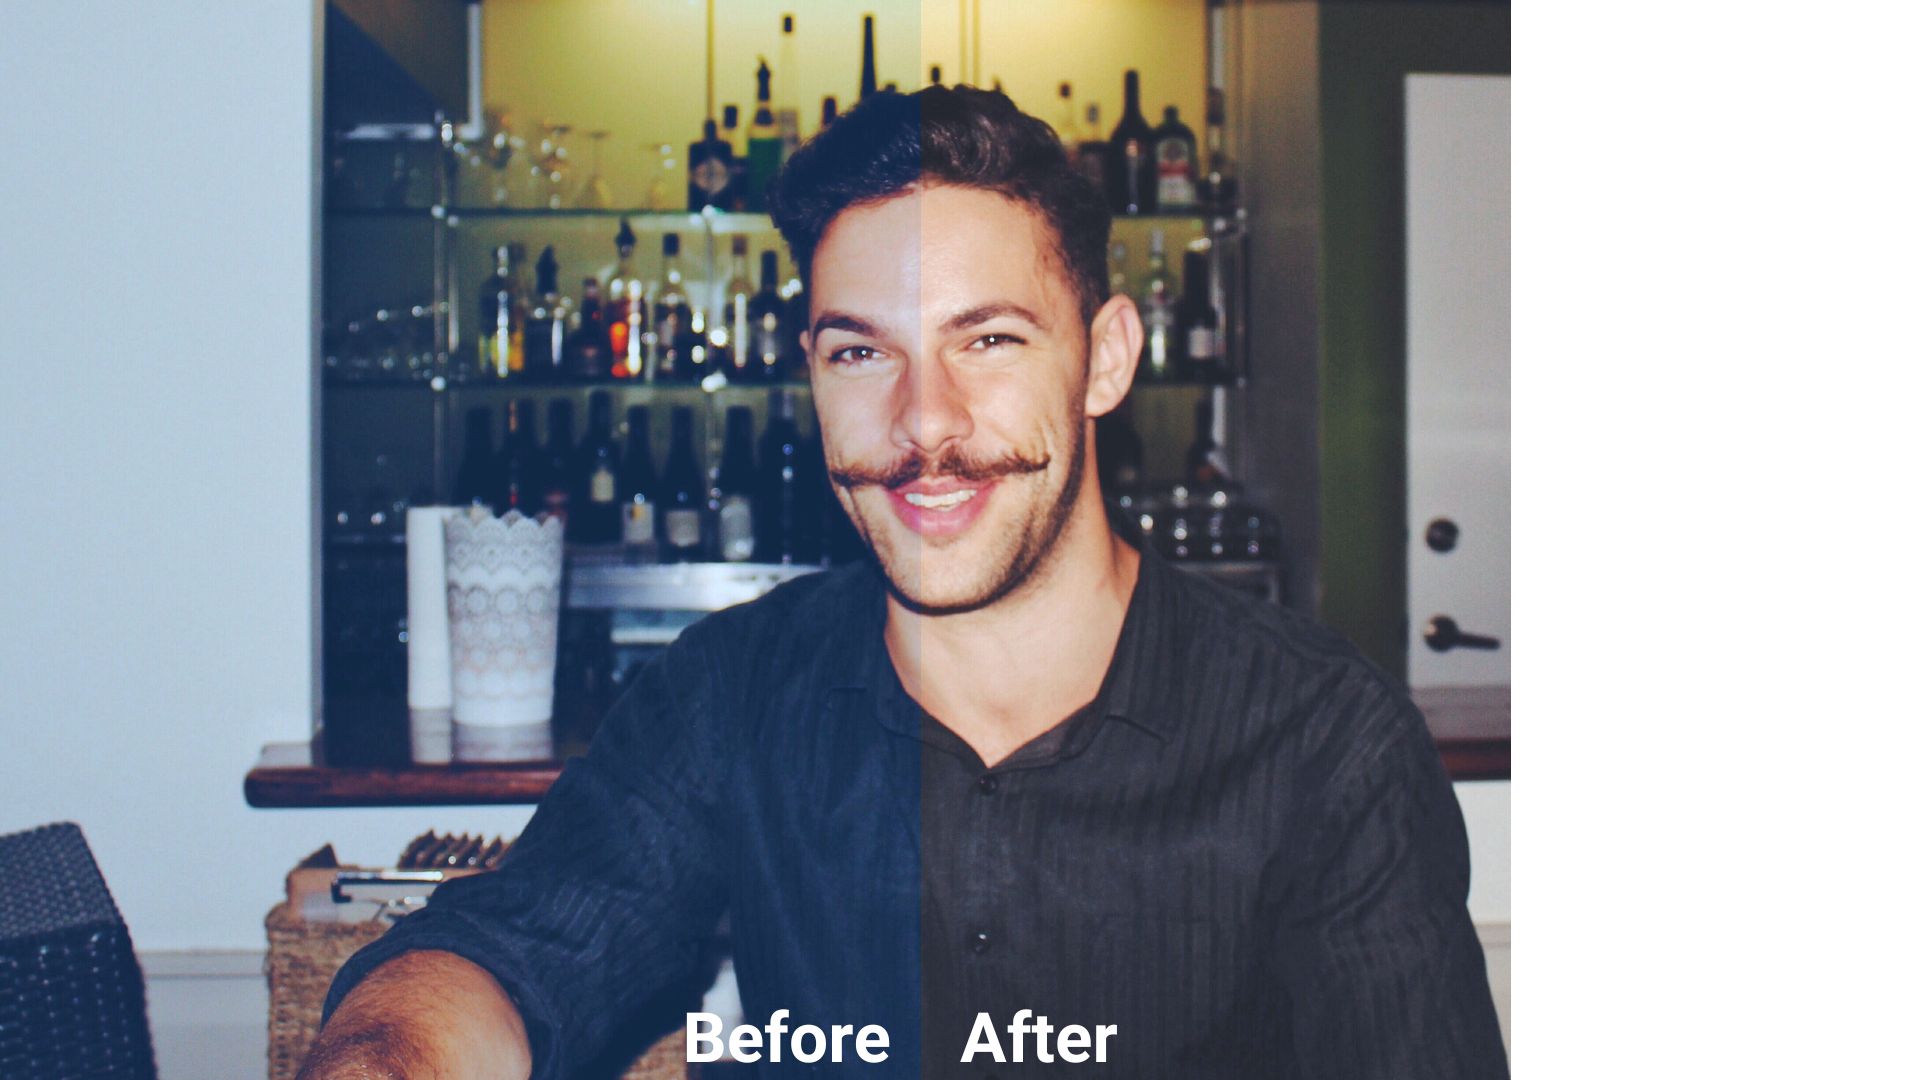
Too Warm
There are a million reasons an image can photograph more red/orange than you intended, but no matter the cause, you can fix the issue by adjusting the temperature to a cooler setting.
Find the whitest part of the image and adjust until the white is true-white to the eye. Look to the eyes and teeth for the best white.
Too Cool (but in a bad way, kinda)
Cool undertones pop up when shooting in the shade, shadow, or in a blue-light cast. It’s a quick fix– simply dial up the temperature to a warmer level until your whites shine bright like a tooth, white T-shirt, something super white… well, you get the drift.
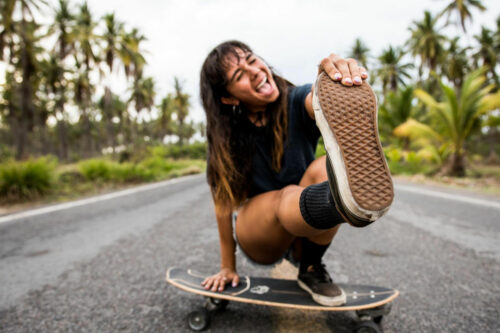
Night Shots
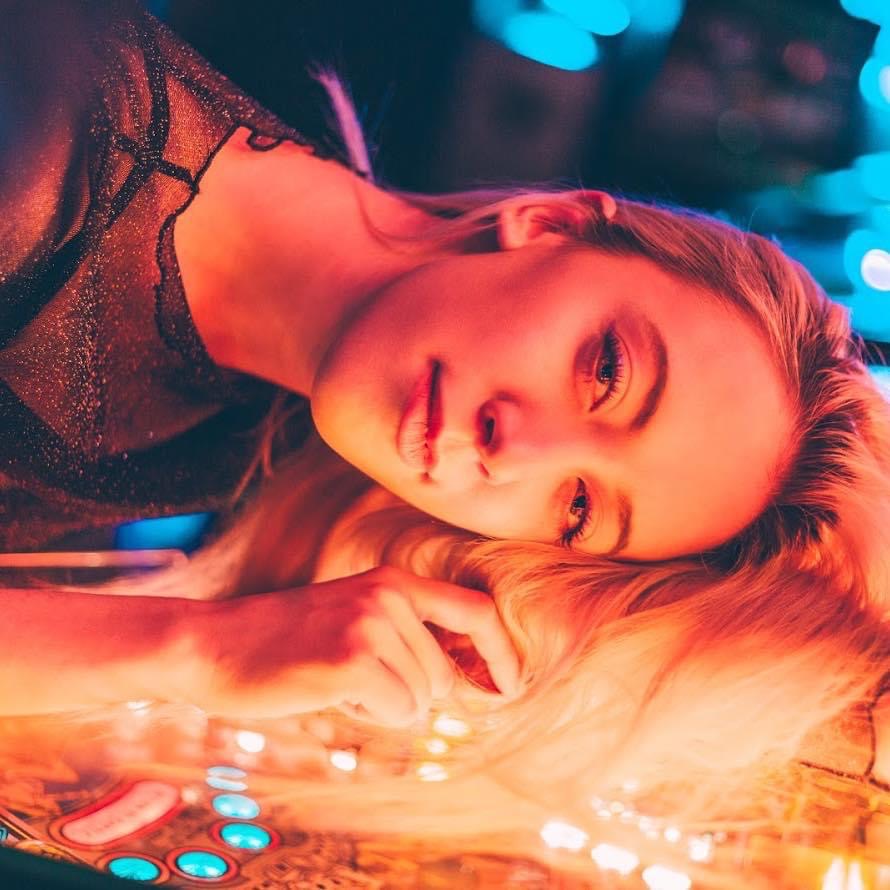
Night shots are a whole different beast, as your skin reflects whatever light is cast toward it. Neon-lit portraits are trending right now, and they look super cool. Just ensure you’re warming/cooling your skin tone, lowering the saturation, and adjusting the contrast, so you don’t come across as an alien.
3. Intentional Lighting
Open your fave mobile camera apps or grab your DSLR– we’re heading behind the lens!
Even It Out
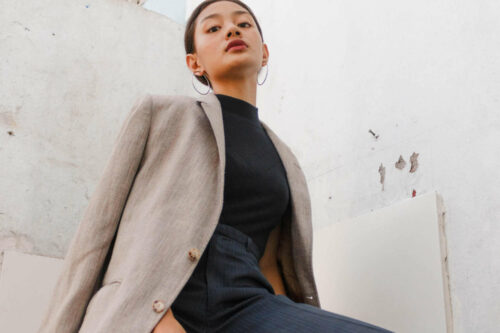
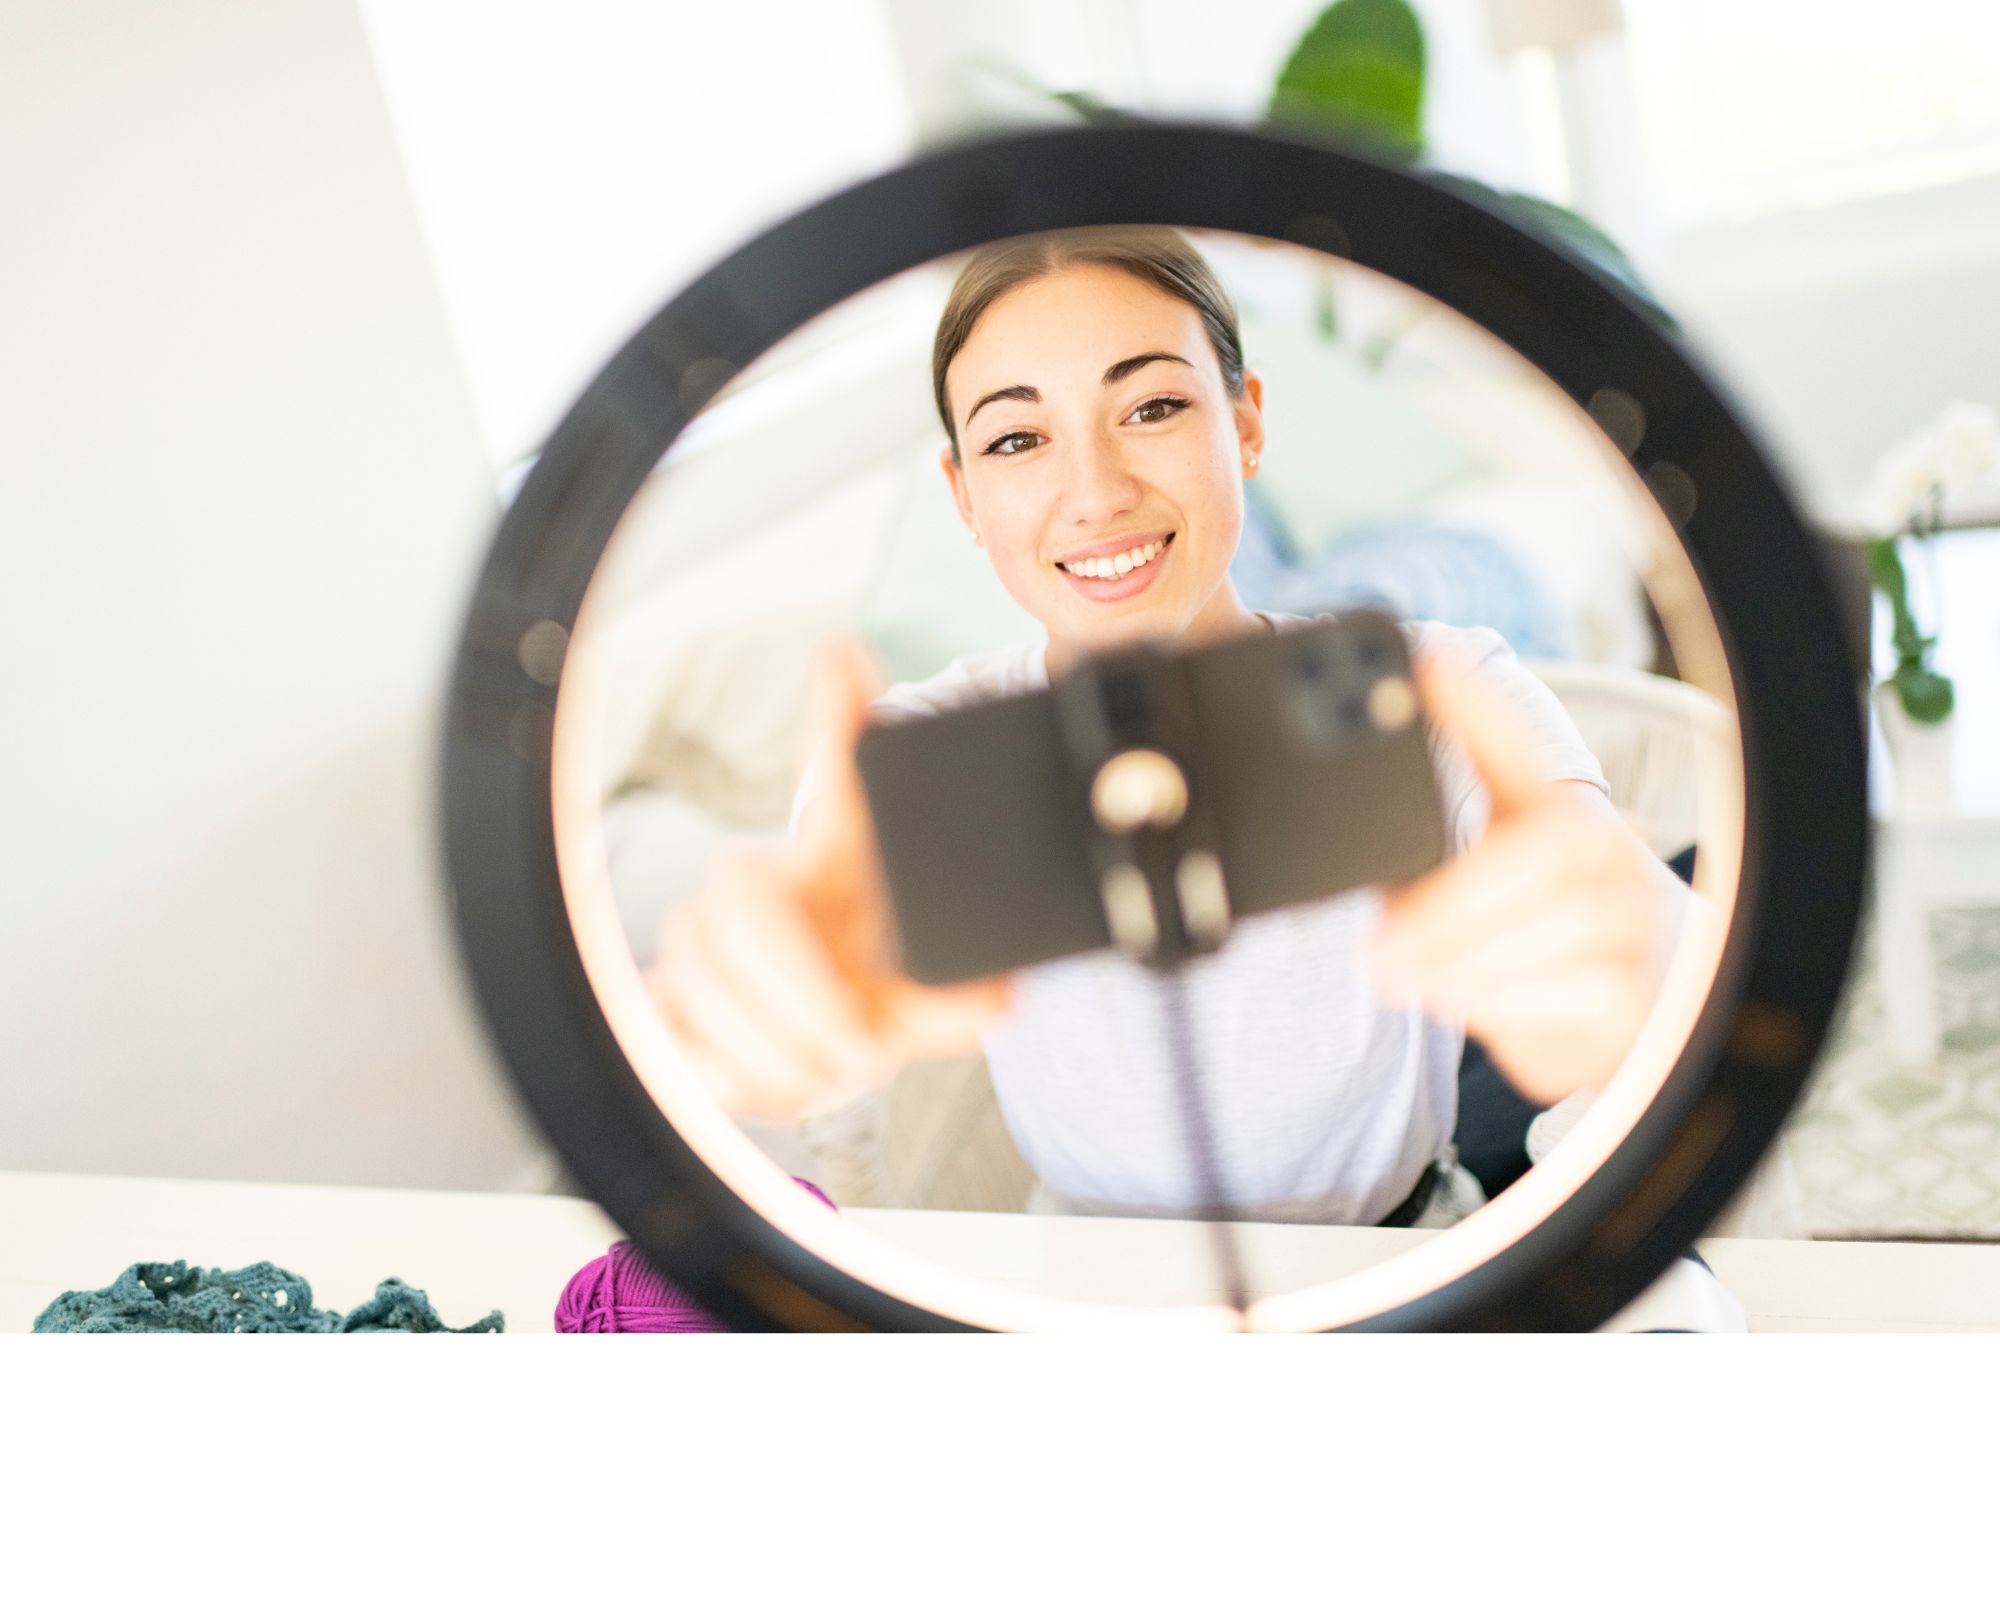
Let’s say you’re taking a straight-on photo like this…
The light should be soft, and placed in front of you, head-on. Most ring lights are soft enough (they don’t blind you). A desk lamp, on the contrary, can be seen from outer space, so no lamps.
In most cases, you’ll be using light that’s readily available to you: natural light. It’s naturally complimentary, so it’s always good.
Before you take your pic, take a test shot. Stand in a spot where you want the photo taken, but don’t lean against any background/wall/structure. Being too close to the background makes the dimensions look off. Keep note of the shadows. Common areas you’ll see unflattering shadows are under the eyes, to the sides of the nose (we call this the Mr. Potatohead shadow), or awkwardly on the sides of the forehead.
Backlighting

Avoid standing in front of the light source unless you wish to appear like anonymous informant #3 on a crime documentary. While it’s okay to have the sun behind you for shots, your body should never fully block the light.
Balancing Act

Where does the sun/light source hit your face the most?
For 99% of dating app or Linkedin profile pictures, having the light dispersed evenly across your face is the most attractive arrangement. There are special moments to go dramatic with lighting, a la the famous Rembrandt lighting or split lighting, but people usually want to see your whole face before they meet you.
4. Filter-free Edits

We’re not taking sides on anti-filter or pro-filter; in fact, if you feel more confident with a bronzing filter, go for it!
However, filters that drastically change your appearance get a resounding “no” from us. Representing yourself online as your true self is our main goal. The more you learn how to create complimentary photos, the less you’ll turn to those outrageous filters. The real magic is in the picture-taking!
Authenticity is sexy, so show off those dimples, bushy brows, freckles, and natural skin.
Here are two quick fixes that polish your photos sans filters:
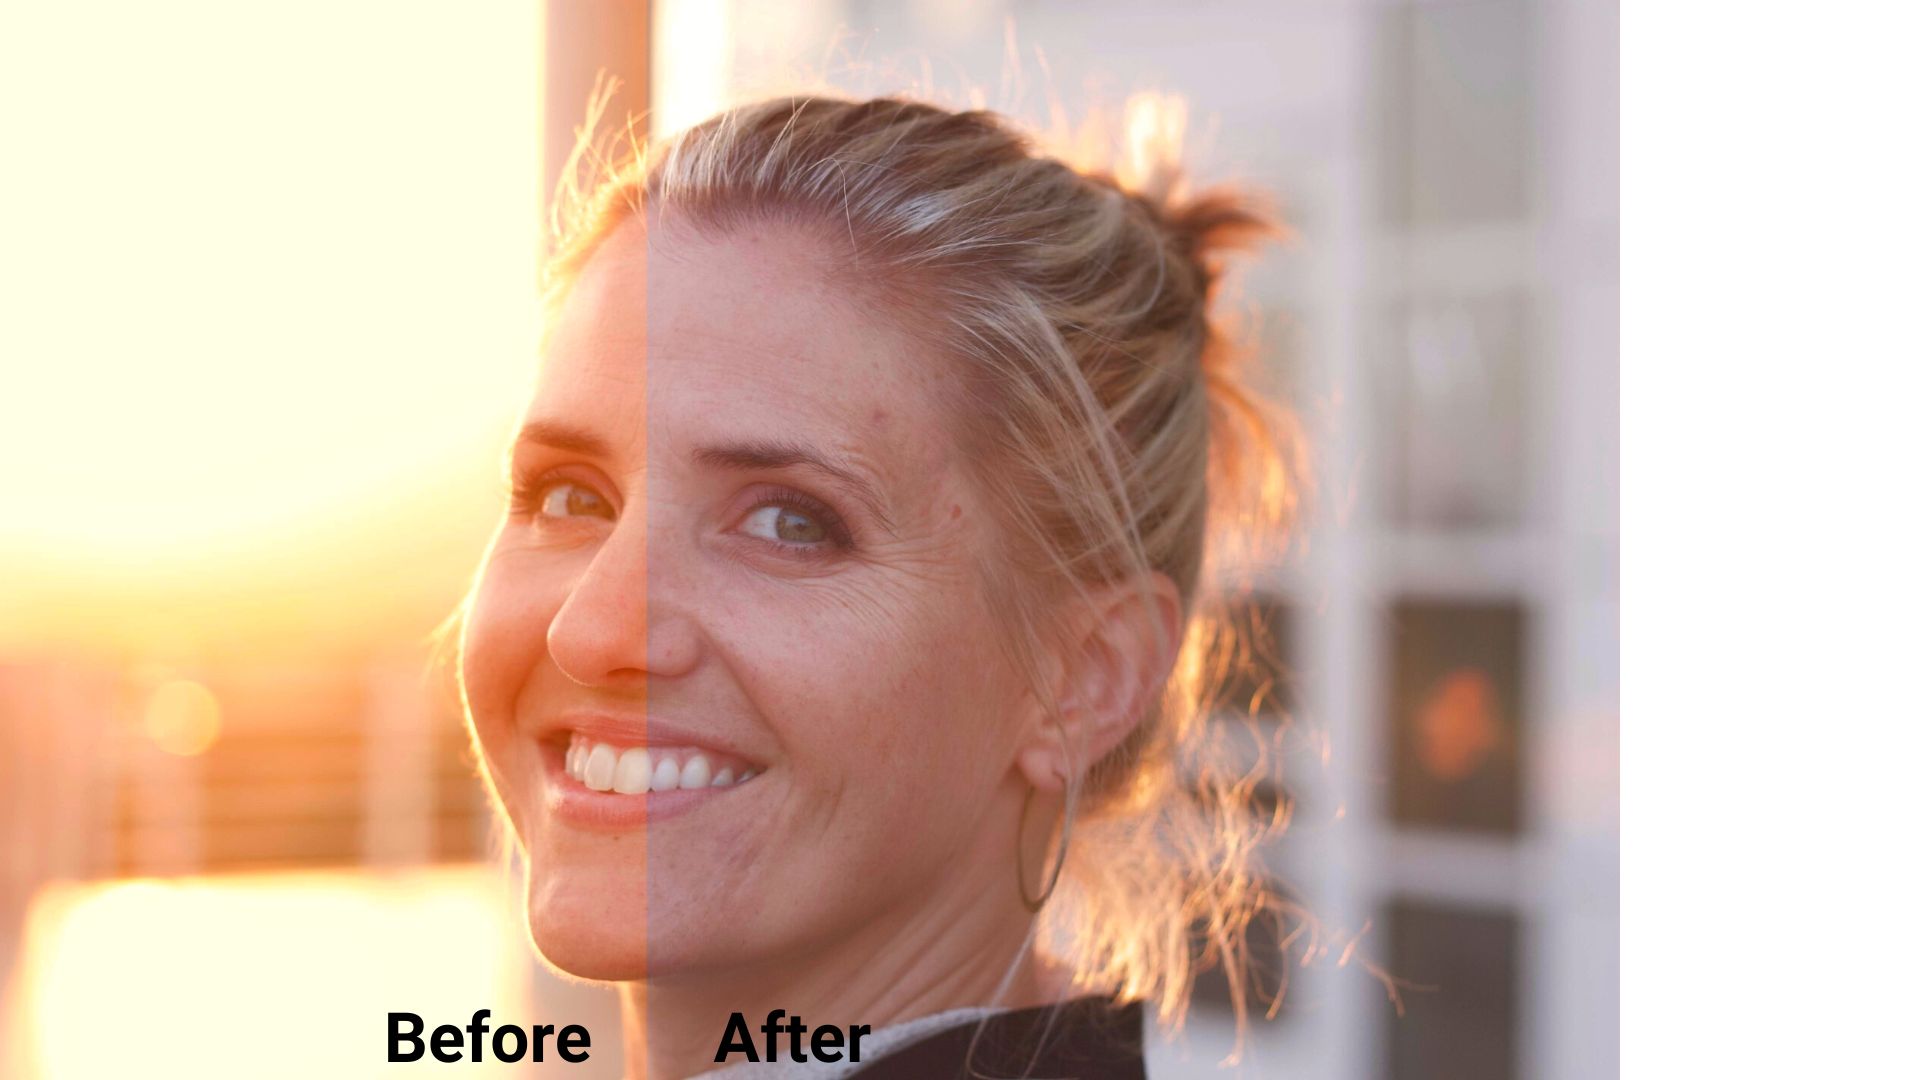
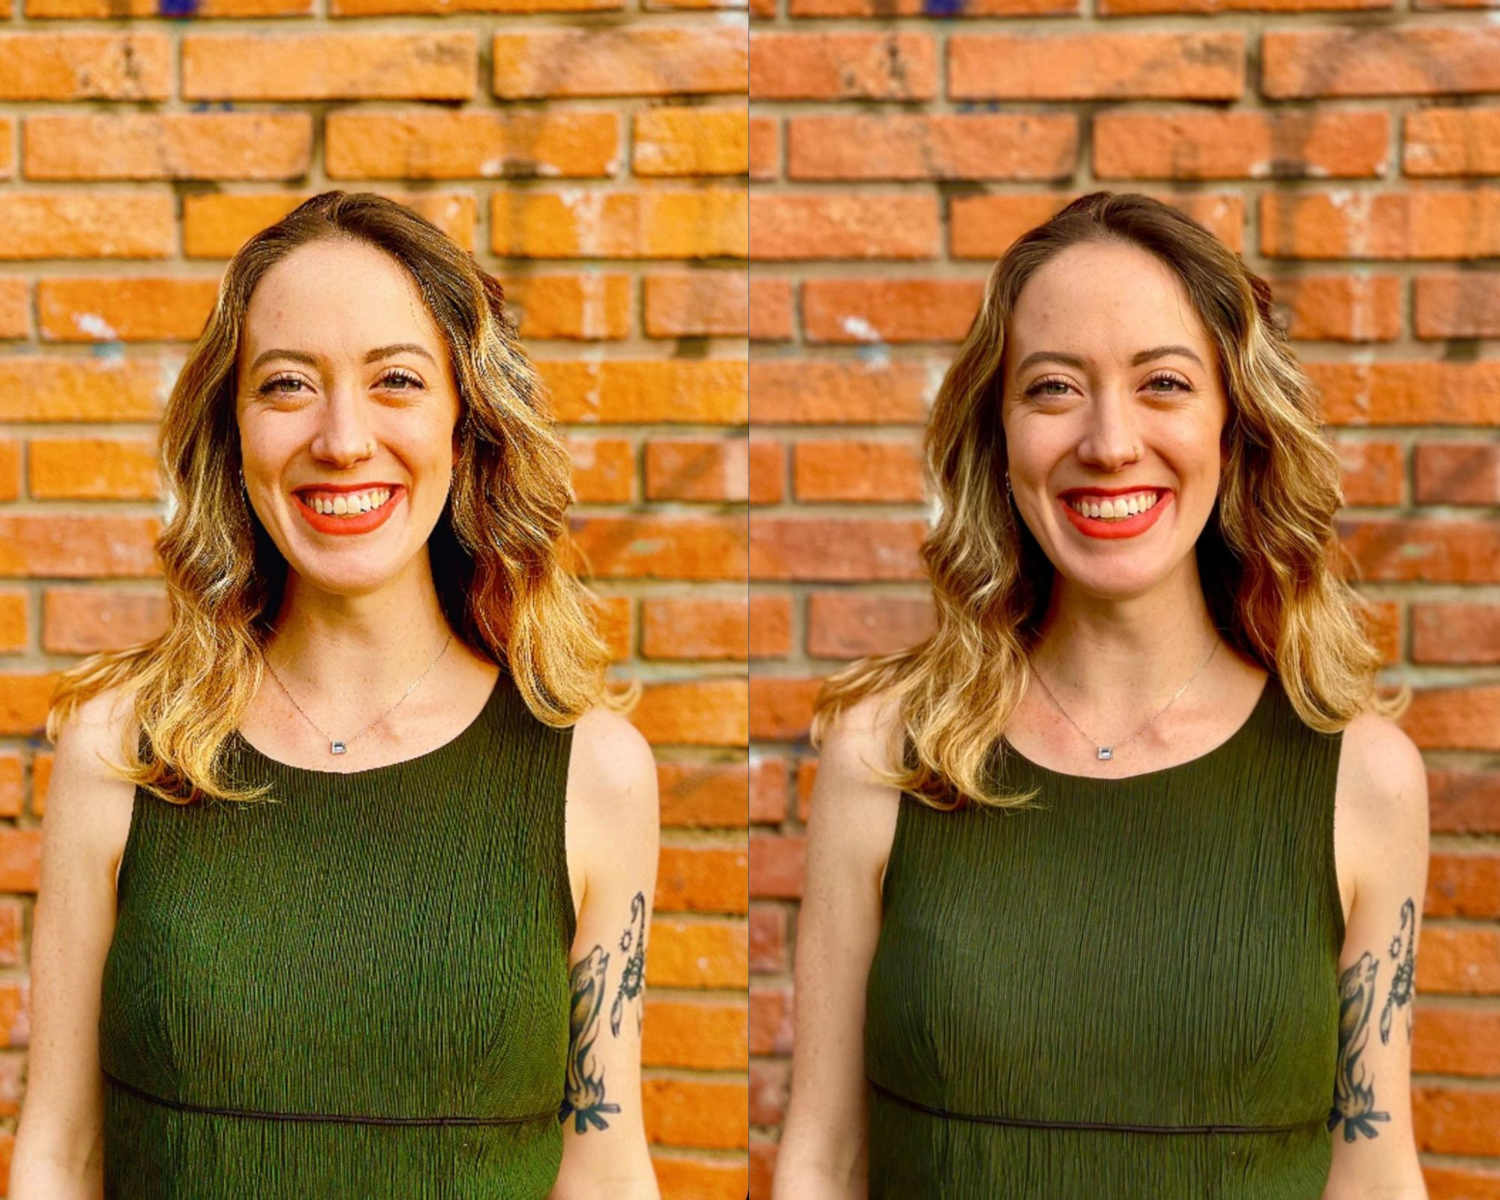
Instead of skin-smoothing
Shoot during golden hour. Warmer tones smooth out uneven skin complexions. If you’ve got a photo you already like, slightly reduce the contrast and increase the temperature to a warm tone– think of it as photo botox.

Instead of crazy contrast filters
In most cases, high contrast filters go way too harsh on the sharpening, which never did anyone any favors. Take the photo without a filter, increase the contrast, mess around with highlights, add more shadows, and then sharpen the image using the clarity tool for truly refined results.
Try these tips with a normal photo without adding a filter. Filters, as confidence-boosting as they seem, aren’t included with you in person. But it’s all good since you don’t need them to look stunning, no matter what the influencers say.
It’s lit!

Now that you’re a lighting guru, posing expert, and selfie master– it’s time to test your new snaps if you’ve not already jumped at the chance!
Reap the benefits of amazing, fresh, well-lit profile photos everywhere, be it on Linkedin, dating apps, or your socials. Remember, quality images attract quality opportunities.
And with that, you’re so close to your Photofeeler University degree– only one section left. You’re now prepared to capture your vibe! Click below to jump ahead to Lesson 4 or backtrack to Lesson 2!