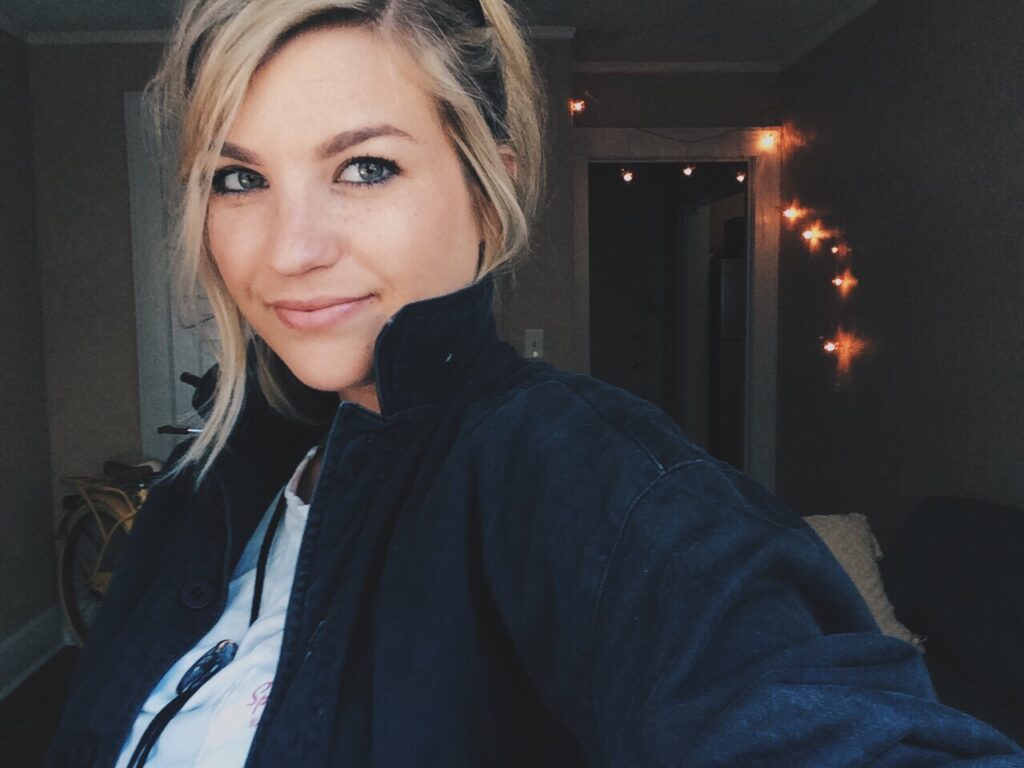
Real talk: I’m not going to tell you how to get “the best dating profile photo ever.”
You already know you’d look awesome standing on the edge of a mountain or toasting Elon Musk.
Tips for taking “the best dating picture ever” would sound hard. As a consequence, you’d just ignore my advice and take a bad selfie in your bathroom mirror.
So to keep things easy peasy, here’s a simple method for getting a pretty darn good picture — one that’s reasonably flattering and effective — without leaving home.
This method is great because you can use it again any time you want to change up your look.
Step 1: Create a scene across from a window
Think of your picture as a movie scene.
The scene you are creating is this: you were hanging out at your place with at least one other person, and they took a photo of you being good-looking and normal.
Maybe you’re playing guitar or interacting with your dog. Perhaps you’re holding a coffee mug or a game controller, all the while your make-believe friend looks on and takes a picture.
To look your best, you should directly face a window. Soft natural light from a window is extremely flattering, so you’ll look as attractive as possible.
(See: How Lighting Changes What You Look Like)
Avoid getting a bathroom or bed in the picture. (Bedrooms read as presumptuous at best; predatory at worst.) Living rooms and kitchens generally look good.
Step 2: Set up a tripod to hold your smartphone
Selfies distort the proportions of your face, making your forehead or nose look larger than it is.
(See: Why Selfies Make Your Face Look Bad)
To avoid unflattering facial distortion, use a tripod to get the camera a few feet away from you at about eye level. This will also fake the look that someone else is taking your picture.
You can get a tripod for cheap on Amazon. This one requires a separate adapter to hold an iPhone.
If you don’t want to buy a tripod, a table stacked with books and/or a Kleenex box might work as long as they don’t block the light.
Step 3: Use your timer to take pictures
Once you’ve got your phone in place, turn on your camera’s timer setting. Try shooting with the back camera because the quality is 3x better!
If you’re using an iPhone, you’ll simply open up your camera app and tap the clock icon:
Once your timer is set, you simply press the button to take a picture, and it gives you a few seconds to get in place.
Step 4: Edit your favorites
If you followed the steps above, you should have a variety of pictures that look something like this.
Next, you’ll want to use a free photo editor to make some easy tweaks.
Here’s an edited version of the photo above:
Because the lighting and coloring were already solid, just crop the picture to a square. If your pics didn’t turn out quite as well, you can try adjusting some things, like the color balance.
I suggest you go ahead and edit several different photos to give you some options to work with in the next step.
Step 5: Get feedback to choose the best picture
Aim to use just one picture from the shoot at a time on your dating profile. This ensures a good variety (for reference, check out #5 in this post) and makes it less obvious that your pic was set up.
To identify the best pic to use:
Take the handful of shots you just edited and put them on Photofeeler for some free, easy feedback.
Here are the results from the first test (from females, all ages):
Here are the individual scores it got from each person:
And here are the notes they left:
So, the first pic did awesome on Photofeeler!
This is already a great score, but I’d try some pics with different clothes, facial expressions, angles, etc., just to see how those compare.
Anyway, that wraps up all you need to know! I hope you found this method simple enough to pull out again when you want a different look for your dating profile.
If you know someone who could use this info, be sure to spread the word.
Looking to get more technical and shoot your profile pics like a complete pro?
Check out Photofeeler University’s short course about photo hacks, lighting, and more!
